Bison Burger Recipe
This post contains affiliate links. As an Amazon Associate I earn from qualifying purchases.
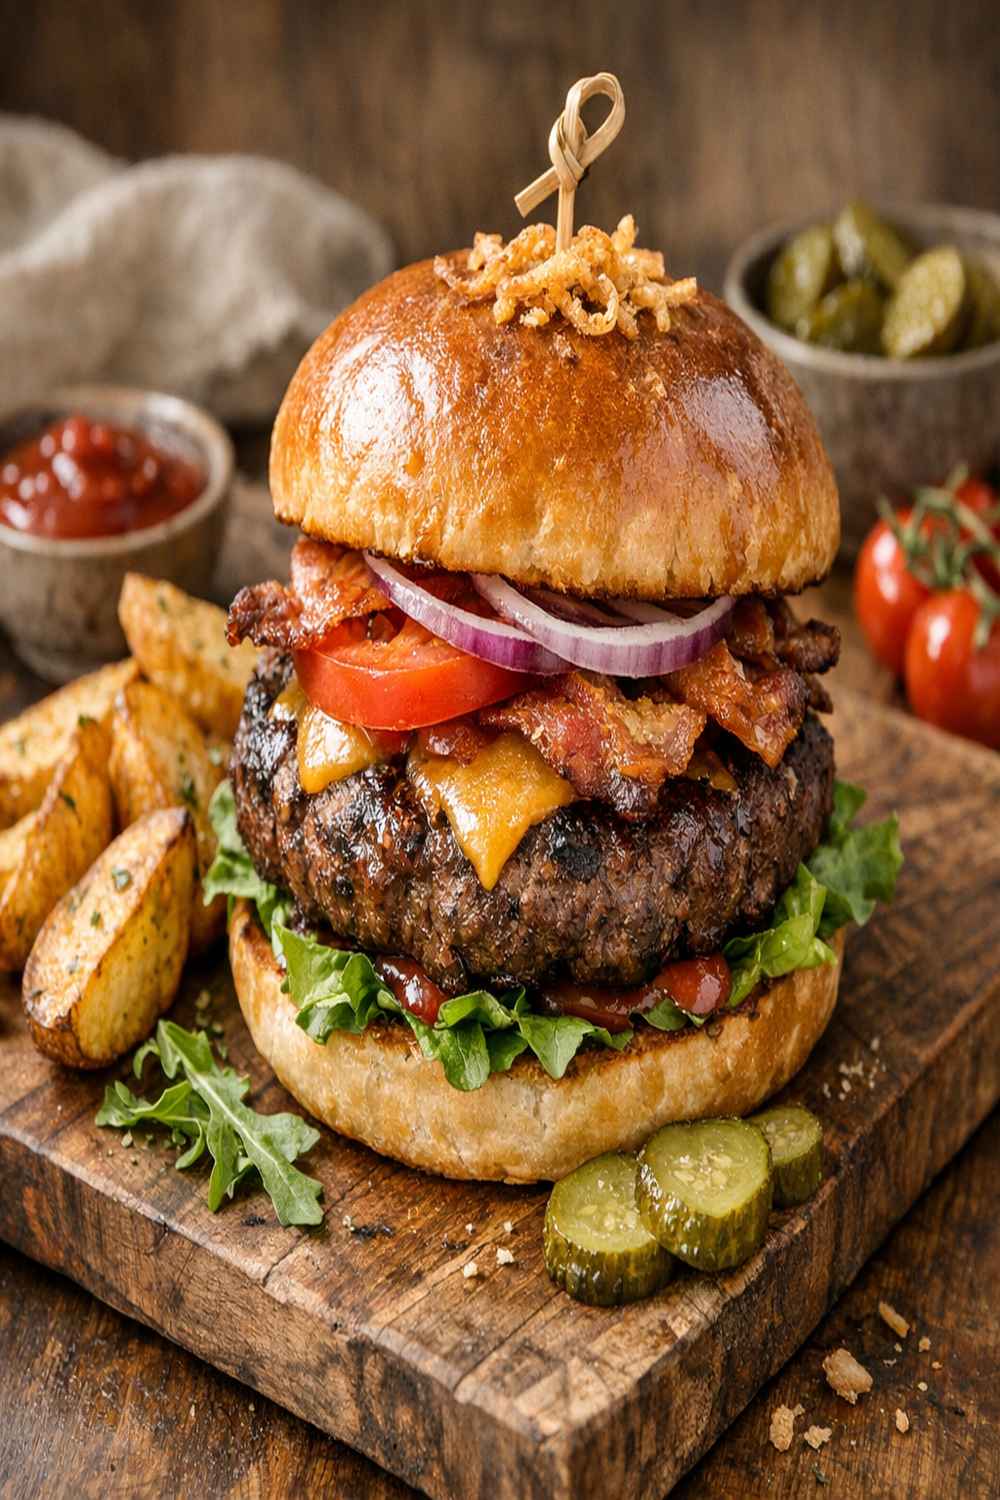
I grew up in Norwood watching my mom transform simple ingredients into meals that brought our whole family to the table. Those mealtimes weren’t just about food—they were about connection, storytelling, and the quiet magic of knowing exactly what was going into our bodies. That’s the energy I bring to every recipe I share with you today.
Bison meat is one of those ingredients that feels special but isn’t complicated. It’s leaner than beef, packed with iron and omega-3 fatty acids, and has this beautiful, clean flavor that doesn’t need much fussing. This bison burger recipe is my answer to anyone who thinks healthy eating means sacrifice. These patties are juicy, deeply satisfying, and come together in less time than it takes to order takeout.
Whether you’re planning a weeknight dinner or prepping for a weekend gathering, I’m going to walk you through exactly how to build these burgers from your pantry staples. You’ll have four perfectly seasoned patties on the table in about 30 minutes—and your family will be asking for seconds.
Why Bison Deserves a Spot in Your Weekly Rotation
As a registered dietitian, I see the clinical advantages of bison every single day. This meat is naturally leaner than conventional beef—about 2.4 grams of fat per 3-ounce serving compared to 8 grams in regular ground beef. But here’s what excites me most: bison contains higher levels of conjugated linoleic acid (CLA), an omega-3 fatty acid linked to better heart health and improved inflammation markers.
Beyond the nutrition science, bison just tastes incredible. The flavor is richer and more nuanced than beef, with a slightly sweet undertone that pairs beautifully with simple seasonings. And because it’s lower in fat, these burgers stay moist and tender when you nail the cooking technique—which I’m about to teach you.
If you’ve never cooked with bison before, this recipe is your perfect starting point. The spice blend I use here—a combination of smoked paprika, garlic, and onion with just a whisper of heat—lets the meat shine without overwhelming it. If you’re looking for alternatives to grilling, my stovetop burger guide walks you through indoor cooking methods that work beautifully with bison too.
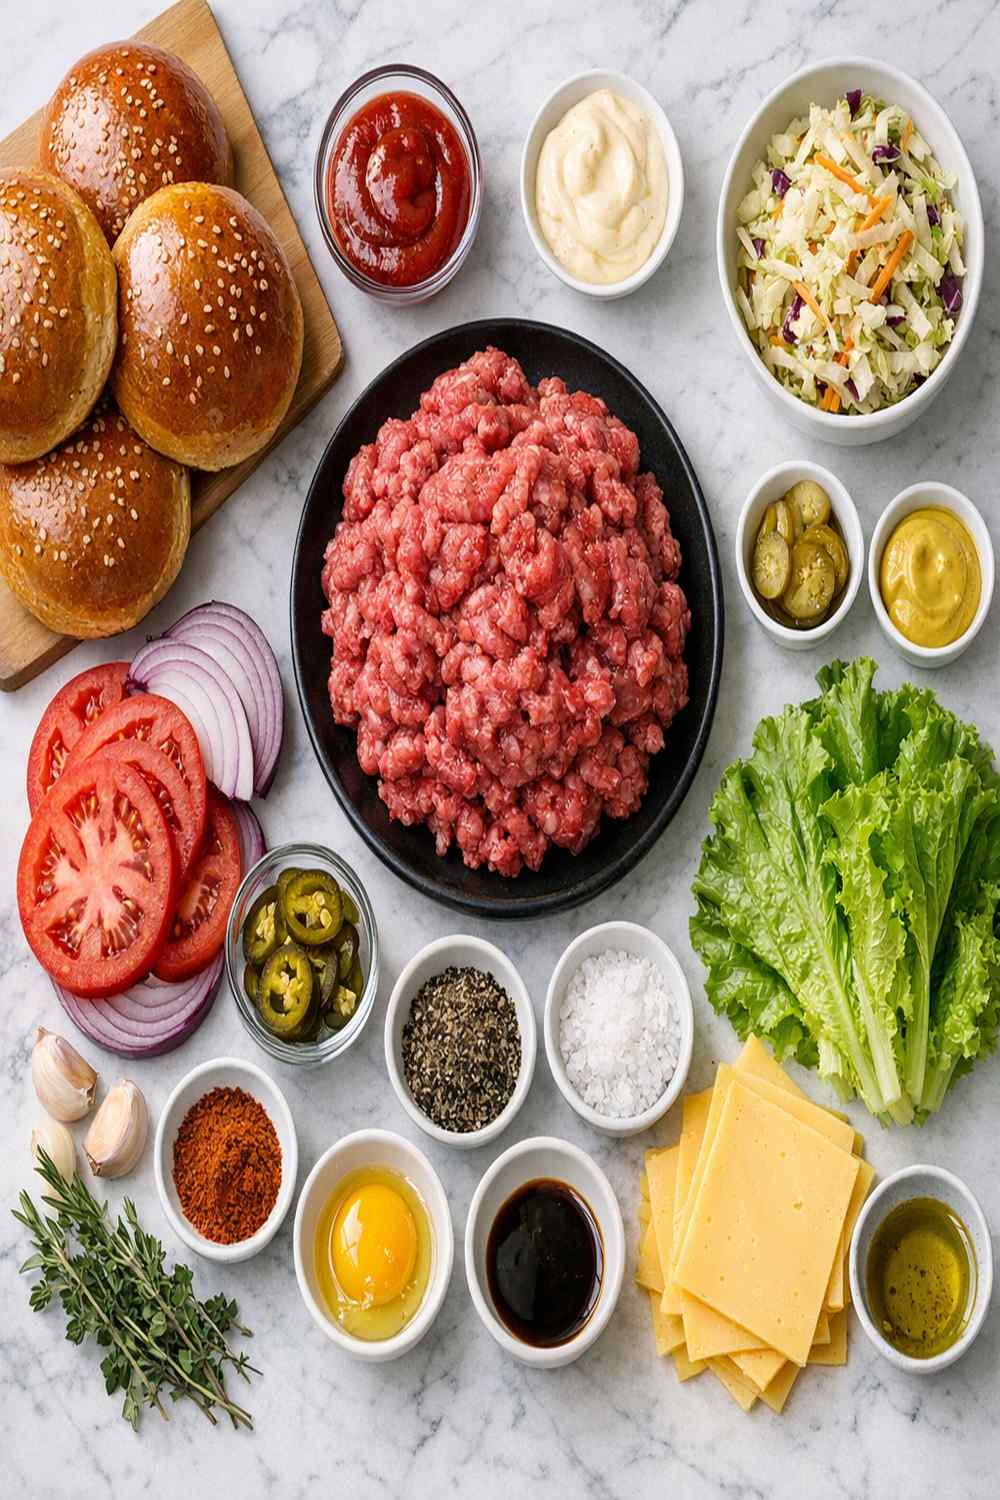
The Ingredients (Makes 4 Burgers)
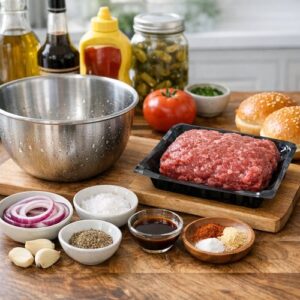
I’ve built this ingredient list around pantry staples you probably already have, plus the star of the show: high-quality ground bison. Nothing here is exotic or hard to source. These are the flavors that make my family dinner table sing.
- 1 teaspoon onion powder (builds savory notes)
- 1 tablespoon avocado oil (for the cooking surface)
- 1 teaspoon dried parsley (brings brightness)
- 1 teaspoon kosher salt (Diamond Crystal brand preferred for consistent texture)
- 1 teaspoon Dijon mustard (acts as a binder and adds tang)
- ½ teaspoon freshly ground black pepper
- 1 teaspoon garlic powder (not garlic salt)
- 1 pound ground bison (grass-fed and pasture-raised when possible)
- 1 teaspoon smoked paprika (adds depth without heat)
- ⅛ teaspoon cayenne pepper (optional heat; feel free to omit)
Expert’s Nutritional Tip
Here’s what most recipes don’t tell you: the mustard isn’t just for flavor. Dijon mustard contains beneficial compounds that enhance iron absorption from the bison meat. Since bison is naturally rich in heme iron (the most bioavailable form), this simple addition actually amplifies the nutritional value of your meal. I’m always looking for ways to make food work harder nutritionally, and this is a perfect example of how simple ingredients layer benefits.
The Transformation: How to Make These Burgers
Everything here is straightforward, but there are small techniques that separate a mediocre burger from one that stays with you. I’m going to walk you through each step like I’m standing right there in your kitchen with you.
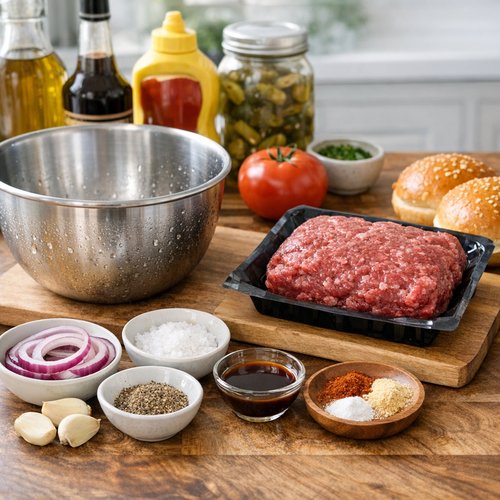
Step 1: Gather Your Ingredients and Prep Your Space
Before you touch the meat, make sure your hands are clean and your work surface is clear. I chill my mixing bowl for a few minutes under cold running water, then dry it completely. This is a small detail that makes a real difference—cold equipment keeps the meat cold, which means better texture and more even seasoning distribution. Have all your seasonings measured and ready in a small dish. This is mise en place, a chef’s habit that keeps the process smooth.
Step 2: Combine the Meat and Seasonings With Intention
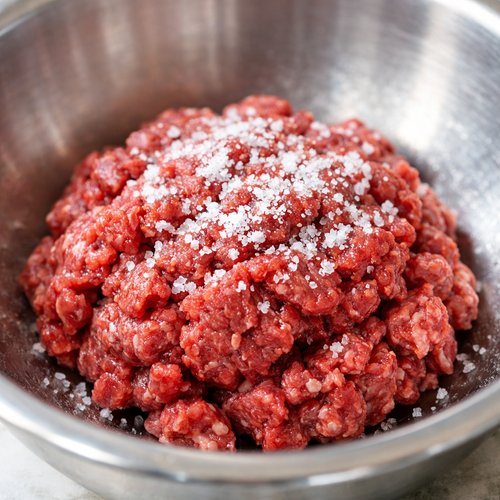
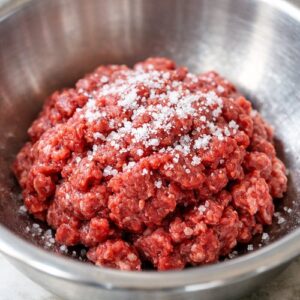
This is the most important step, and I need you to trust me on the technique. Place your pound of ground bison into the chilled bowl. Sprinkle the kosher salt, black pepper, garlic powder, onion powder, smoked paprika, dried parsley, cayenne, and Dijon mustard over the top. Use your clean hands to combine everything gently, breaking up the meat as you fold the seasonings in. Work with a light touch—you’re not kneading bread. The moment all the seasonings are evenly distributed and the mixture is uniform, stop. Overworking the meat creates a dense, compact burger instead of one with a tender crumb.
You’re aiming for about 30 seconds of gentle mixing. I know that sounds quick, but it’s the right amount of time. Too much handling and the meat becomes tough when cooked.
Step 3: Form Four Perfect Patties
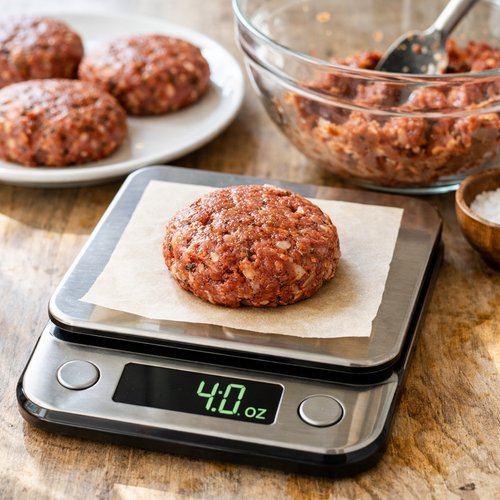
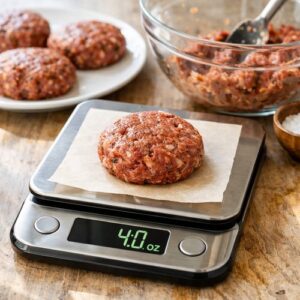
Divide your seasoned mixture into four equal portions—about 4 ounces each. The easiest way to do this with precision is to use a kitchen scale, but if you don’t have one, just eyeball it. They should be roughly the size of the palm of your hand.
Now here’s the technique that changes everything: gently shape each portion into a patty that’s about 3 inches across and ½ inch thick. Make the edges slightly thicker than the center—this compensates for the natural shrinkage that happens on the grill. And crucially, use your thumb to press a small dimple into the center of each patty. This isn’t just for looks. That dimple prevents the burger from puffing up like a little dome as it cooks, which means more even cooking and better texture throughout.
Place your formed patties on a clean plate. If you have time, refrigerate them for 15 minutes—this helps them hold together on the grill. But if you’re in a rush, you can cook them right away.
Step 4: Heat Your Cooking Surface
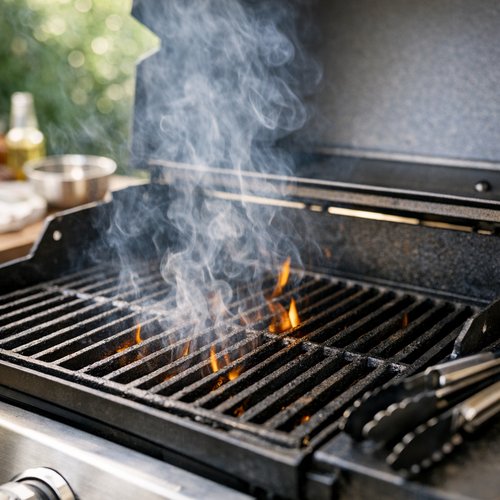
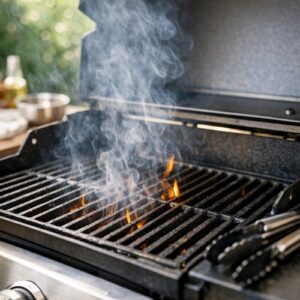
Here’s where the method matters. You can use a traditional grill, a grill pan on your stovetop, or a dual-contact electric grill. I prefer outdoor grilling because of the flavor, but all three methods work beautifully. Preheat your cooking surface to medium-high heat for about 5 minutes. You want it hot enough that a drop of water sizzles immediately when it hits the surface.
Once your grill is preheated, lightly coat the grates or cooking surface with avocado oil. I use a brush or a paper towel held with tongs to apply just enough oil to prevent sticking. This is safer than spraying oil directly onto a hot grill, which can cause flare-ups.
Step 5: Cook With Patience and Precision
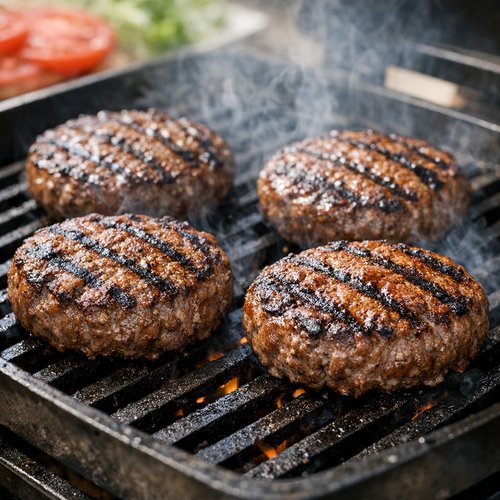
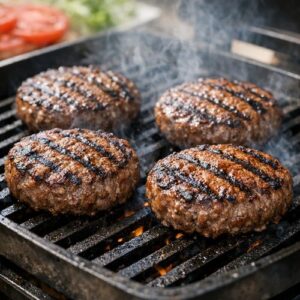
Place your four patties on the hot grill, giving each one space so air can circulate. Resist the urge to move them or press down with your spatula. I know that instinct to press—every home cook has it—but pressing releases the juices and creates a dry burger. Let them be.
For medium doneness (my preference with bison), cook for about 4 minutes on the first side without moving them. You’ll see the edges starting to caramelize and the juices beginning to pool on top. This is your signal to flip. Flip once, and cook for another 4 minutes on the second side. If you’re using a dual-contact electric grill that cooks from both sides, the total cooking time is about 4 minutes with no flipping needed.
For doneness levels: if you prefer your burgers more done, add another minute per side. Bison is so lean that I don’t recommend cooking past medium-well, or they can become dry. A meat thermometer inserted into the center should read 160°F for medium.
Step 6: Rest and Serve Immediately
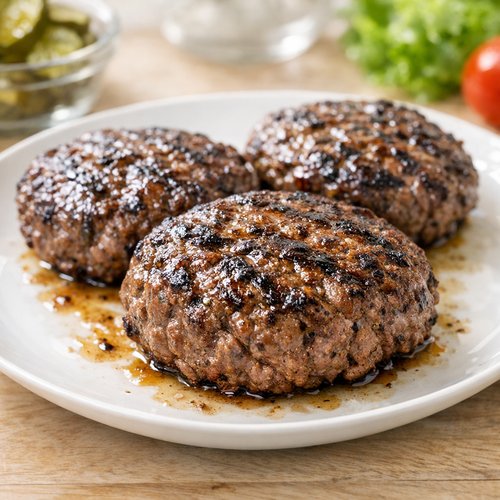
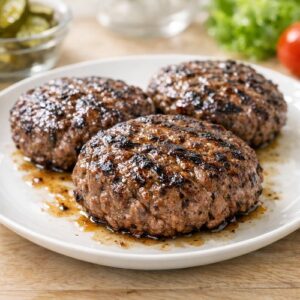
Remove your burgers from the heat and let them rest for just 2 minutes on a clean plate. This short rest allows the juices to redistribute throughout the patty, ensuring each bite is moist and flavorful. Then serve immediately on your favorite buns with your chosen toppings.
How to Adapt Based on What You Have
- If you don’t have Dijon mustard—use regular yellow mustard or skip it entirely. The mustard adds tang and helps bind the mixture, but it’s not essential. The burgers will still be delicious.
- If you can’t find smoked paprika—use regular paprika, which adds color and mild flavor without the smokiness. Or use a pinch of liquid smoke mixed with regular paprika.
- If cayenne pepper is too spicy for your family—omit it completely. This recipe is equally delicious without heat.
- If you only have butter instead of avocado oil—butter burns at lower temperatures, so use it only if your grill isn’t getting too hot. Better option: use any neutral oil like vegetable or canola oil.
- If you prefer beef to bison—use the same weight of grass-fed ground beef. You may need to add a tiny bit more salt since beef has less inherent mineral content than bison.
Common Mistakes to Avoid
I’ve made these mistakes myself, and I’ve watched countless home cooks make them too. Learning from these missteps will transform your burger game.
- Overmixing the meat—This is the number one burger mistake. When you overwork ground meat, you develop gluten strands that make the final burger tough and dense instead of tender. Mix just until everything is combined, then stop. Think gentle folding, not aggressive kneading.
- Skipping the dimple—It seems like a tiny detail, but that center indentation prevents your burgers from puffing up into a dome shape. Without it, you end up with uneven cooking—well-done edges and an undercooked center.
- Pressing down while cooking—I see home cooks do this out of nervousness, wanting to make sure the meat is cooking. Pressing squeezes out all the flavorful juices. Trust the process. Let them cook undisturbed.
- Cooking from cold—If your grill or pan isn’t hot enough, the meat won’t develop that beautiful caramelized crust. Give your cooking surface time to preheat properly.
Make-Ahead Guide
One of my favorite meal-prep strategies is forming burger patties ahead of time. Shape your patties up to 24 hours before cooking, then wrap each one individually in parchment paper and store them in an airtight container in the refrigerator. This actually improves the burgers—the seasonings have more time to meld, and the cold meat holds together better on the grill.
You can even freeze formed patties. Place them on a baking sheet and freeze for 2 hours until solid, then transfer to a freezer bag where they’ll keep for up to 3 months. When you’re ready to cook, add just 2 extra minutes per side to your cooking time if cooking from frozen. Don’t thaw them first—frozen cooking helps maintain moisture in the lean meat.
Seasonal Variations
While this recipe is perfect year-round, here’s how I adapt it with the seasons:
- Spring—Add fresh herbs. Chop 1 tablespoon of fresh dill or tarragon and fold it in with the seasonings. Serve on toasted whole-grain buns with spring greens and fresh lemon.
- Summer—This is when I embrace grilling. Pair these burgers with grilled vegetables, fresh tomatoes, and crisp lettuce. Add a fresh herb aioli made with mayo, garlic, and basil.
- Fall—Toast your buns and add caramelized onions. The richness of fall flavors pairs beautifully with bison’s lean profile.
- Winter—Go hearty. Serve on a sturdy rye or pumpernickel bun with cooked mushrooms and a touch of horseradish.
Zero Waste: Using Every Last Bit
My philosophy extends beyond the recipe itself. If you’re forming patties from a larger package of ground bison, you might have small scraps. Don’t discard them—combine them with the next day’s meat or fold them into a pasta sauce or chili.
Leftover cooked burgers? Shred them and use the meat in tacos, grain bowls, or crumbled over salads. The meat keeps for 3 days in the refrigerator and freezes beautifully for up to 2 months. Stale burger buns aren’t waste either—toast them and make breadcrumbs, or use them for bread pudding.
What to Serve With These Burgers
I always pair these bison burgers with sides that complement rather than compete with the meat. Since bison is so naturally flavorful and lean, I love serving bright, fresh accompaniments.
- Steamed broccoli with lemon—My steamed broccoli recipe is simple, nutritious, and adds a fresh note to the richness of the burger.
- Homemade bread and butter pickles—The tang and crunch of homemade pickles cuts through the richness beautifully and adds complexity to each bite.
- Fresh greens salad—A simple arugula or mixed green salad with a light vinaigrette balances the meal nutritionally and adds texture contrast.
- Grilled vegetables—Zucchini, bell peppers, and summer squash grilled alongside the burgers round out your meal with nutrients and flavor.
- Sweet potato wedges—For a more substantial meal, serve with baked or air-fried sweet potato wedges for complex carbohydrates and fiber.
Can I Store These Burgers?
Absolutely. Cooked bison burgers keep in the refrigerator for 3-4 days in an airtight container. The patties themselves are quite forgiving—because the meat is so lean, they don’t dry out as quickly as conventional beef burgers.
To reheat, I warm them gently on a skillet over medium heat for about 2 minutes per side, or you can reheat wrapped in foil in a 325°F oven for about 8 minutes. Frozen cooked burgers keep for up to 2 months—wrap each one individually before freezing for easiest storage and reheating.
If you’re storing the cooked meat shredded (my go-to for meal prep), it keeps refrigerated for 3 days and frozen for up to 3 months. This makes it incredibly versatile for the week ahead.
Nutrition Information
Here’s the nutritional breakdown per burger (based on USDA data for cooked lean ground bison):
- Calories: 190-210
- Protein: 28 grams
- Fat: 9 grams (mostly unsaturated)
- Saturated Fat: 3.5 grams
- Carbohydrates: 0 grams
- Iron: 3.2 mg (18% of daily value)
- Omega-3 fatty acids: 0.07 grams
- B12: 1.5 micrograms (25% of daily value)
What excites me about these numbers is the protein-to-calorie ratio. You’re getting substantial protein for weight management, plus the iron and B12 that so many people are deficient in. The fat content is minimal compared to conventional beef burgers, and the fats present are predominantly heart-healthy unsaturated fats. This is why I call bison a nutritionist’s dream—it delivers nutrition without the health trade-offs.

Bison Burger Recipe
Ingredients
Method
- Before you touch the meat, make sure your hands are clean and your work surface is clear. I chill my mixing bowl for a few minutes under cold running water, then dry it completely. This is a small detail that makes a real difference—cold equipment keeps the meat cold, which means better texture and more even seasoning distribution. Have all your seasonings measured and ready in a small dish. This is mise en place, a chef's habit that keeps the process smooth.
- This is the most important step, and I need you to trust me on the technique. Place your pound of ground bison into the chilled bowl. Sprinkle the kosher salt, black pepper, garlic powder, onion powder, smoked paprika, dried parsley, cayenne, and Dijon mustard over the top. Use your clean hands to combine everything gently, breaking up the meat as you fold the seasonings in. Work with a light touch—you're not kneading bread. The moment all the seasonings are evenly distributed and the mixture is uniform, stop. Overworking the meat creates a dense, compact burger instead of one with a tender crumb. You're aiming for about 30 seconds of gentle mixing. I know that sounds quick, but it's the right amount of time. Too much handling and the meat becomes tough when cooked.
- Divide your seasoned mixture into four equal portions—about 4 ounces each. The easiest way to do this with precision is to use a kitchen scale, but if you don't have one, just eyeball it. They should be roughly the size of the palm of your hand. Now here's the technique that changes everything: gently shape each portion into a patty that's about 3 inches across and ½ inch thick. Make the edges slightly thicker than the center—this compensates for the natural shrinkage that happens on the grill. And crucially, use your thumb to press a small dimple into the center of each patty. This isn't just for looks. That dimple prevents the burger from puffing up like a little dome as it cooks, which means more even cooking and better texture throughout. Place your formed patties on a clean plate. If you have time, refrigerate them for 15 minutes—this helps them hold together on the grill. But if you're in a rush, you can cook them right away.
- Here's where the method matters. You can use a traditional grill, a grill pan on your stovetop, or a dual-contact electric grill. I prefer outdoor grilling because of the flavor, but all three methods work beautifully. Preheat your cooking surface to medium-high heat for about 5 minutes. You want it hot enough that a drop of water sizzles immediately when it hits the surface. Once your grill is preheated, lightly coat the grates or cooking surface with avocado oil. I use a brush or a paper towel held with tongs to apply just enough oil to prevent sticking. This is safer than spraying oil directly onto a hot grill, which can cause flare-ups.
- Place your four patties on the hot grill, giving each one space so air can circulate. Resist the urge to move them or press down with your spatula. I know that instinct to press—every home cook has it—but pressing releases the juices and creates a dry burger. Let them be. For medium doneness (my preference with bison), cook for about 4 minutes on the first side without moving them. You'll see the edges starting to caramelize and the juices beginning to pool on top. This is your signal to flip. Flip once, and cook for another 4 minutes on the second side. If you're using a dual-contact electric grill that cooks from both sides, the total cooking time is about 4 minutes with no flipping needed. For doneness levels: if you prefer your burgers more done, add another minute per side. Bison is so lean that I don't recommend cooking past medium-well, or they can become dry. A meat thermometer inserted into the center should read 160°F for medium.
- Remove your burgers from the heat and let them rest for just 2 minutes on a clean plate. This short rest allows the juices to redistribute throughout the patty, ensuring each bite is moist and flavorful. Then serve immediately on your favorite buns with your chosen toppings.
Notes
FAQs
Can I use 93/7 ground beef instead of bison?
Absolutely. While the flavor profile will be slightly different—beef is less rich and nuanced than bison—the technique works identically. You may want to reduce the salt slightly since beef has different mineral composition than bison. Grass-fed beef is nutritionally closer to bison than conventional beef.
How do I know when my burgers are done?
The most reliable method is a meat thermometer. Insert it horizontally into the center of the patty without touching the grill. For medium doneness, you’re looking for 160°F. For medium-rare, 145°F. However, since bison is so lean, I really don’t recommend cooking below medium, or the texture can become dry.
Why is my burger dry?
Dryness in bison burgers usually comes from one of three sources: overcooking (bison has so little fat that it dries quickly), overmixing the meat (which creates a dense, tight texture), or pressing down while cooking. All three release moisture. Cook to medium, mix gently, and let them be on the grill.
Can I make these ahead and freeze them uncooked?
Yes, and I highly recommend it. Form your patties, wrap each individually in parchment paper, and freeze in an airtight container for up to 3 months. Cook from frozen, adding about 2 minutes per side. The cold meat actually holds together better during cooking.
What’s the difference between bison and beef nutritionally?
Bison is leaner, with about 60% less fat than beef while maintaining similar protein levels. It’s higher in omega-3 fatty acids, iron, and B vitamins. Bison also has a lower cholesterol content than beef. From a registered dietitian’s perspective, bison is simply a superior nutritional choice, though beef can certainly be part of a healthy diet too.
More Recipes You’ll Love
- How To Make Burgers On The Stovetop—Perfect for days when grilling isn’t an option
- Best Dry Rub for Ribs—Similar seasoning philosophy for your next cookout
- Steamed Broccoli—A fresh, simple side that pairs beautifully with rich burgers
- Bread and Butter Pickles—Homemade tang and crunch for burger toppings
The Connection Behind Every Plate
I think back to those family dinners in Norwood, around the table with people I love, sharing stories while we ate food that made us feel nourished and cared for. That’s what cooking is really about. It’s not about perfection or complexity—it’s about intention, quality ingredients, and the love you put into the process.
These bison burgers are my way of bringing that same spirit to your table. They’re a reminder that healthy eating doesn’t have to be complicated. It doesn’t require exotic ingredients or hours in the kitchen. It just requires good meat, pantry staples you already have, and a willingness to give the process your attention for 30 minutes.
When your family gathers around the table and takes a bite of these burgers—when they notice the juiciness, the depth of flavor, the way the seasoning brings out the best in the meat—they’re tasting the difference between rushed cooking and intentional cooking. They’re tasting the nutrition science, the technique, and the care.
That’s the kind of cooking I want to see in every kitchen. That’s the kind of nourishment that changes how we feel, not just for that meal, but for all the meals that follow. Take care with love and flavor!