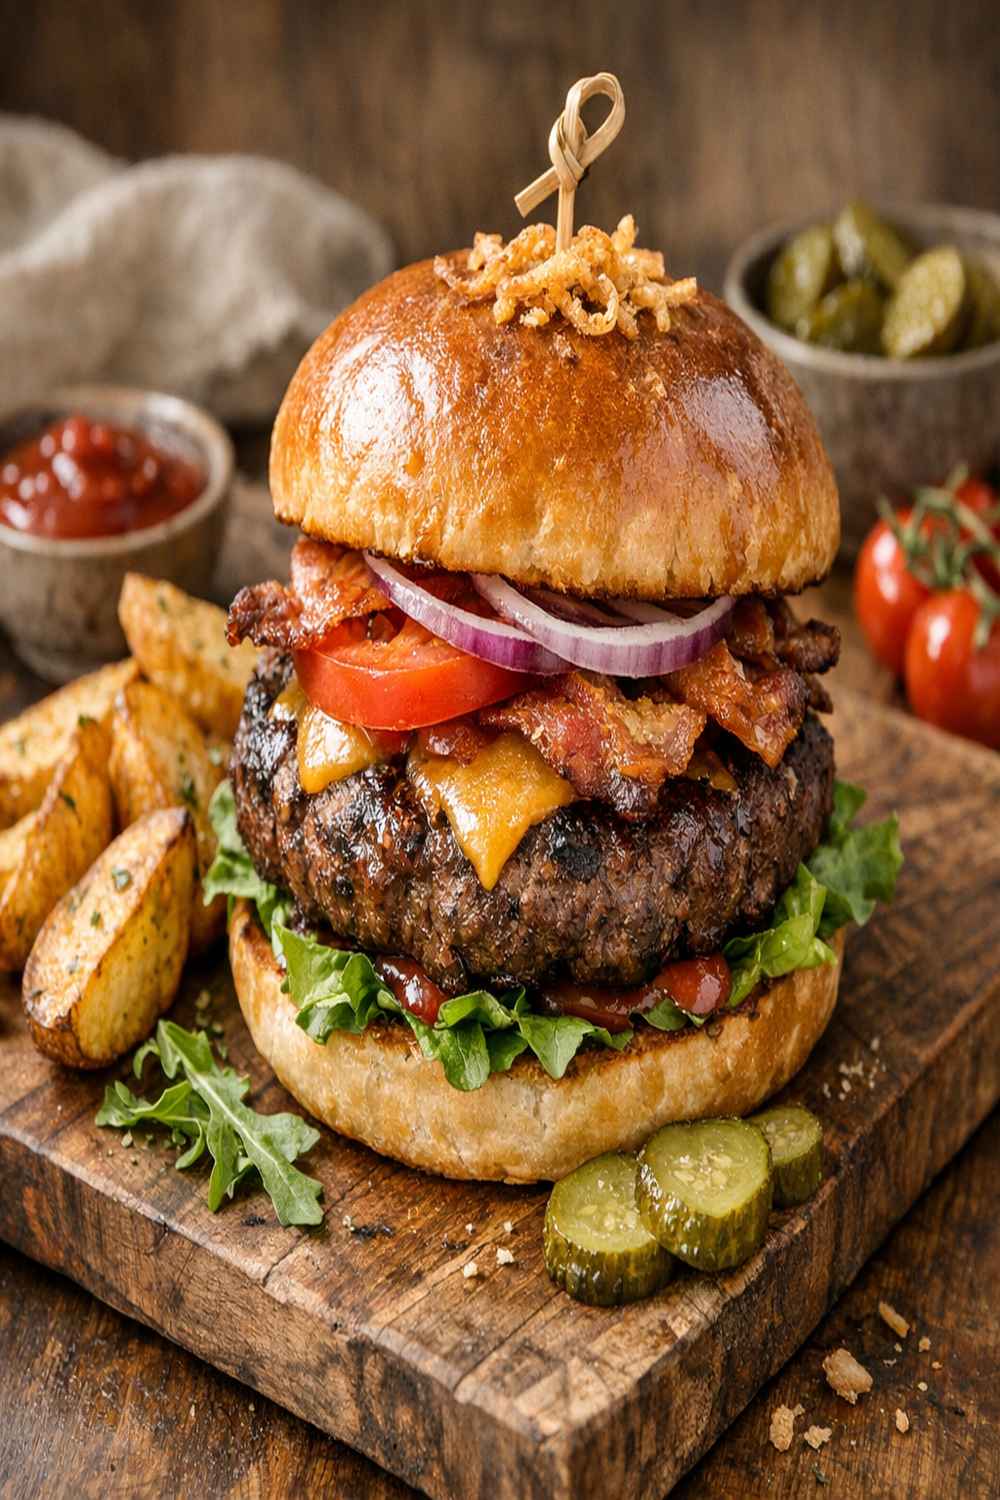

Ingredients
Method
Step 1: Gather Your Ingredients and Prep Your Space
- Before you touch the meat, make sure your hands are clean and your work surface is clear. I chill my mixing bowl for a few minutes under cold running water, then dry it completely. This is a small detail that makes a real difference—cold equipment keeps the meat cold, which means better texture and more even seasoning distribution. Have all your seasonings measured and ready in a small dish. This is mise en place, a chef's habit that keeps the process smooth.
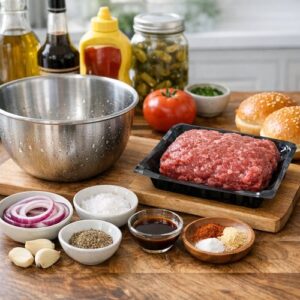
Step 2: Combine the Meat and Seasonings With Intention
- This is the most important step, and I need you to trust me on the technique. Place your pound of ground bison into the chilled bowl. Sprinkle the kosher salt, black pepper, garlic powder, onion powder, smoked paprika, dried parsley, cayenne, and Dijon mustard over the top. Use your clean hands to combine everything gently, breaking up the meat as you fold the seasonings in. Work with a light touch—you're not kneading bread. The moment all the seasonings are evenly distributed and the mixture is uniform, stop. Overworking the meat creates a dense, compact burger instead of one with a tender crumb. You're aiming for about 30 seconds of gentle mixing. I know that sounds quick, but it's the right amount of time. Too much handling and the meat becomes tough when cooked.
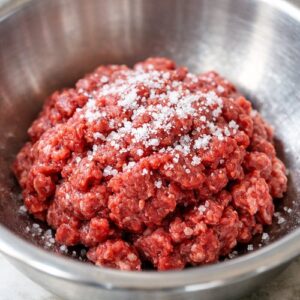
Step 3: Form Four Perfect Patties
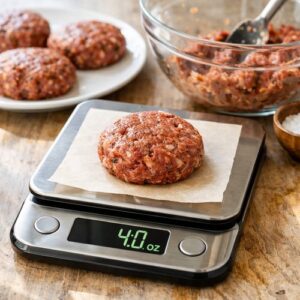
- Divide your seasoned mixture into four equal portions—about 4 ounces each. The easiest way to do this with precision is to use a kitchen scale, but if you don't have one, just eyeball it. They should be roughly the size of the palm of your hand. Now here's the technique that changes everything: gently shape each portion into a patty that's about 3 inches across and ½ inch thick. Make the edges slightly thicker than the center—this compensates for the natural shrinkage that happens on the grill. And crucially, use your thumb to press a small dimple into the center of each patty. This isn't just for looks. That dimple prevents the burger from puffing up like a little dome as it cooks, which means more even cooking and better texture throughout. Place your formed patties on a clean plate. If you have time, refrigerate them for 15 minutes—this helps them hold together on the grill. But if you're in a rush, you can cook them right away.
Step 4: Heat Your Cooking Surface
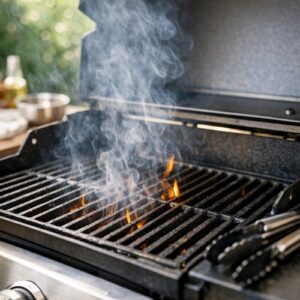
- Here's where the method matters. You can use a traditional grill, a grill pan on your stovetop, or a dual-contact electric grill. I prefer outdoor grilling because of the flavor, but all three methods work beautifully. Preheat your cooking surface to medium-high heat for about 5 minutes. You want it hot enough that a drop of water sizzles immediately when it hits the surface. Once your grill is preheated, lightly coat the grates or cooking surface with avocado oil. I use a brush or a paper towel held with tongs to apply just enough oil to prevent sticking. This is safer than spraying oil directly onto a hot grill, which can cause flare-ups.
Step 5: Cook With Patience and Precision
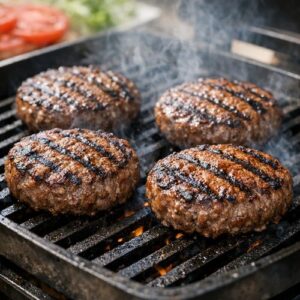
- Place your four patties on the hot grill, giving each one space so air can circulate. Resist the urge to move them or press down with your spatula. I know that instinct to press—every home cook has it—but pressing releases the juices and creates a dry burger. Let them be. For medium doneness (my preference with bison), cook for about 4 minutes on the first side without moving them. You'll see the edges starting to caramelize and the juices beginning to pool on top. This is your signal to flip. Flip once, and cook for another 4 minutes on the second side. If you're using a dual-contact electric grill that cooks from both sides, the total cooking time is about 4 minutes with no flipping needed. For doneness levels: if you prefer your burgers more done, add another minute per side. Bison is so lean that I don't recommend cooking past medium-well, or they can become dry. A meat thermometer inserted into the center should read 160°F for medium.
Step 6: Rest and Serve Immediately
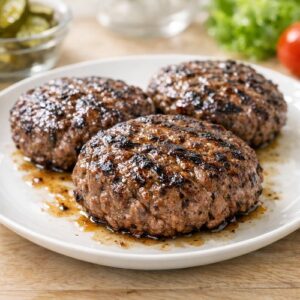
- Remove your burgers from the heat and let them rest for just 2 minutes on a clean plate. This short rest allows the juices to redistribute throughout the patty, ensuring each bite is moist and flavorful. Then serve immediately on your favorite buns with your chosen toppings.
Notes
- Overmixing the meat—This is the number one burger mistake. When you overwork ground meat, you develop gluten strands that make the final burger tough and dense instead of tender. Mix just until everything is combined, then stop. Think gentle folding, not aggressive kneading.
- Skipping the dimple—It seems like a tiny detail, but that center indentation prevents your burgers from puffing up into a dome shape. Without it, you end up with uneven cooking—well-done edges and an undercooked center.
- Pressing down while cooking—I see home cooks do this out of nervousness, wanting to make sure the meat is cooking. Pressing squeezes out all the flavorful juices. Trust the process. Let them cook undisturbed.
- Cooking from cold—If your grill or pan isn't hot enough, the meat won't develop that beautiful caramelized crust. Give your cooking surface time to preheat properly.