
Ingredients
Method
Step 1: Position Your Oven and Preheat the Broiler
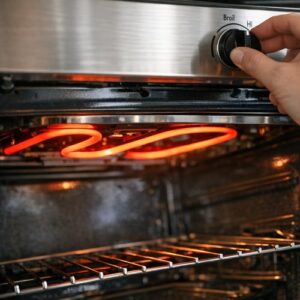
- Turn your broiler to high heat (around 500°F). This step is non-negotiable because broilers are all different—some heat up in 2 minutes, others need 5. Give yours a solid 5 minutes to reach full temperature. Position your oven rack so it sits 6 inches below the heating element, not directly underneath. This distance matters tremendously. Too close and your cheese burns black before the tomato interior softens. Too far and everything stays pale and rubbery. If your broiler has a "high" and "low" setting, always choose high for this recipe.
Step 2: Prepare Your Tomatoes for Stability
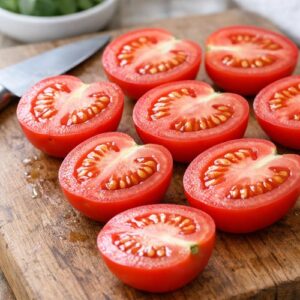
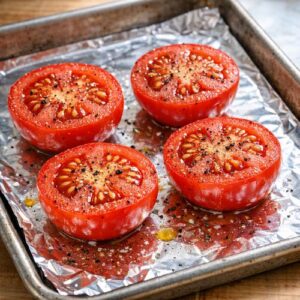
- Cut your tomatoes in half lengthwise (from stem to bottom). You'll have two halves per tomato. Here's the budget-conscious pro tip that changes everything: slice a paper-thin sliver off the rounded bottom of each half. This creates a flat base so your tomato sits upright on the baking sheet without rolling or tipping. Wasted tomato? Essentially zero—you're removing maybe 1/8 inch. What you gain is stability and even cooking. Pat the cut sides gently with a paper towel to remove excess moisture. Drier surfaces brown better and accept seasonings more evenly.
Step 3: Oil, Season, and Cheese Your Tomatoes
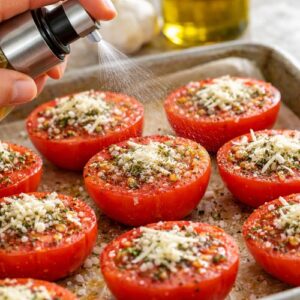
- Spray each tomato half lightly all over with olive oil using your pump spray bottle. A 2-second spray per half is plenty. You're not drenching—you're coating. This is where that spray bottle beats pouring oil: you use 70% less because there's zero waste dripping onto the baking sheet. Now sprinkle with kosher salt, black pepper, garlic powder, and dried thyme evenly across each half. Use your fingers to distribute seasonings—they stick better to the oiled surface than if you sprinkle blindly. Top each half with 2 tablespoons of freshly grated Parmesan. Freshly grated cheese melts smoothly and browns evenly. Pre-shredded has anti-caking additives that create grainy, separated texture rather than that glossy, golden coating you're after.
Step 4: Arrange on Your Baking Sheet
- Place all four tomato halves cut-side up on a rimmed baking sheet (the rim catches any juices that escape and prevents them from dripping onto your oven floor—another money-saving win by preventing cleanup disasters). Space them about 2 inches apart so heat circulates evenly. If you're using a smaller baking sheet, you can fit them closer, but don't crowd them. Your broiler uses radiant heat from above, so air flow matters.
Step 5: Broil Until Golden and Bubbly
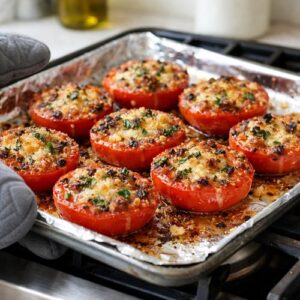
- Slide your baking sheet into the preheated broiler. Set a timer for 3 minutes. At 3 minutes, open the broiler and check the cheese. You're looking for deep golden brown color with just the tiniest hints of darker brown at the edges. If it's still pale and white, give it another minute. If it's already dark brown or starting to blacken, pull it out immediately. Broiler timing varies wildly based on oven age and model—my first check is always at 3 minutes, my maximum is 5 minutes. Overcooking the cheese creates bitter flavor, so this is where you stay present.

Step 6: Rest and Serve Immediately
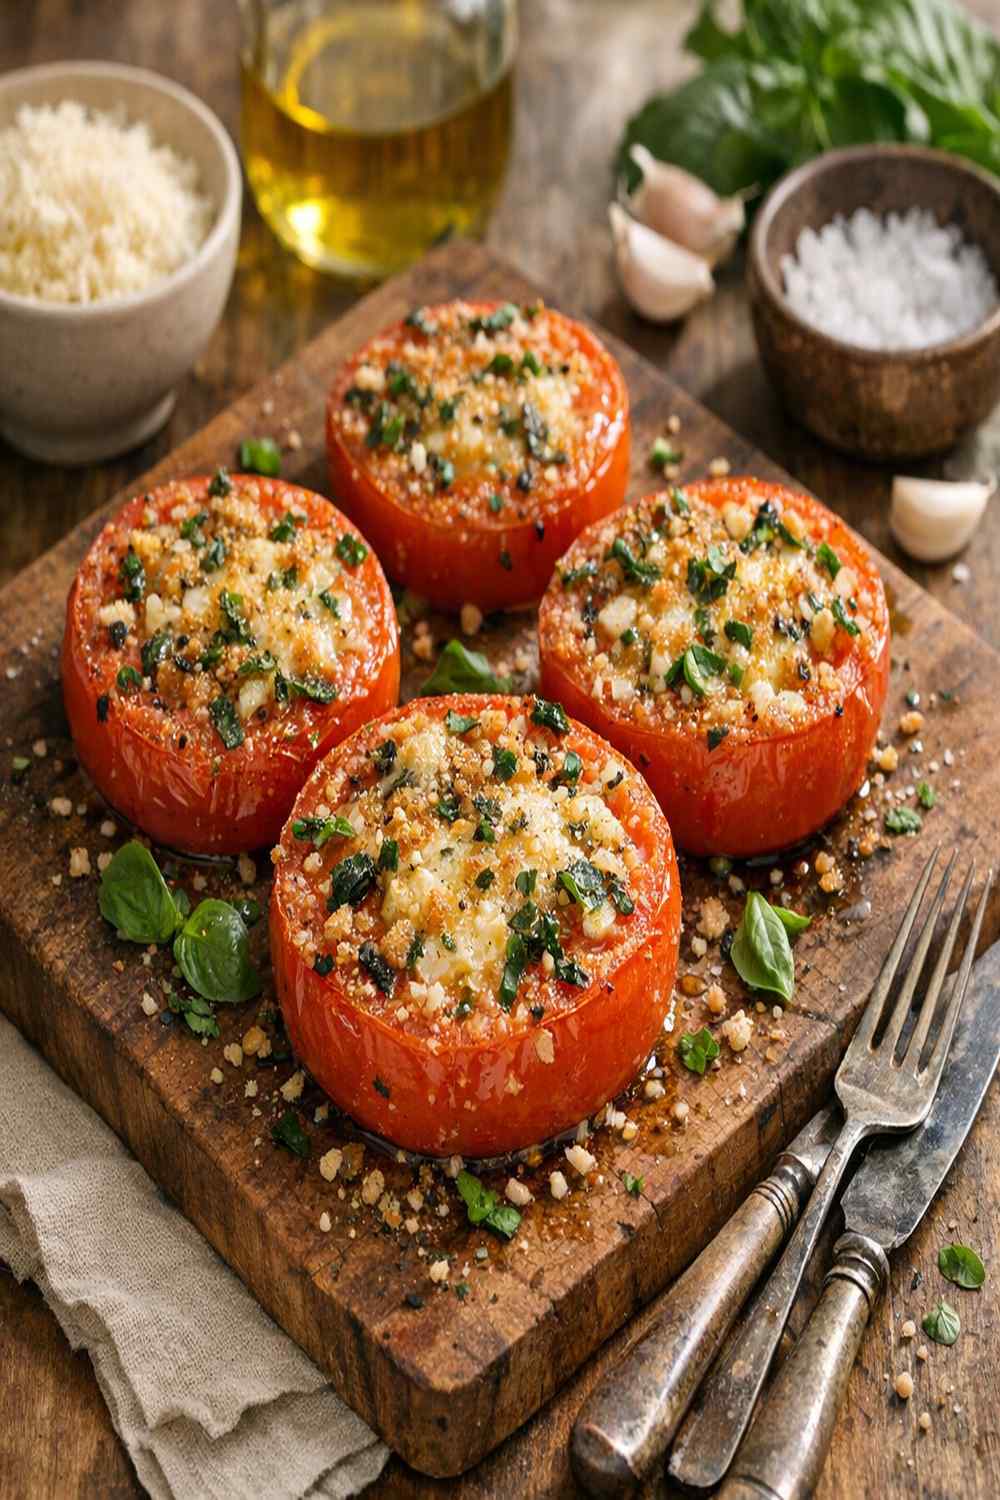
- Remove the baking sheet from the broiler using an oven mitt (the sheet is extremely hot). Let it sit on your stovetop for exactly 2 minutes—this allows the cheese to set just slightly so it doesn't slide off when you plate. The tomato inside continues cooking gently from residual heat. Plate immediately after those 2 minutes. If you have fresh basil on hand, tear a few leaves and scatter across each tomato. Serve as a side to grilled chicken, fish, or alongside crusty bread. This dish is best eaten within 5 minutes of coming out of the broiler.
Notes
- Buy tomatoes at farmers markets in summer and early fall. Prices drop to $0.50 to $1.00 per pound when they're in season, and the flavor is incomparably better than supermarket tomatoes in January. I plan this recipe during July through September when tomatoes are at their peak cheapness and taste.
- Purchase Parmesan as a wedge, not pre-shredded. Pre-shredded costs $0.60 to $0.80 more per pound and contains cellulose (anti-caking agent) that prevents proper melting. A microplane grater costs $12 once and transforms your cooking forever. The wedge also lasts longer in your fridge—up to 4 weeks wrapped tightly in parchment paper.
- Invest in one quality spice container set and buy spices in bulk from Costco or ethnic markets. Dried thyme, garlic powder, and black pepper account for pennies when you buy in larger quantities. Kroger's spice section charges premium prices; Indian markets and ethnic stores charge 60% less for the exact same quality.