
Ingredients
Method
Step 1: Preheat Your Oven and Prepare Your Workspace
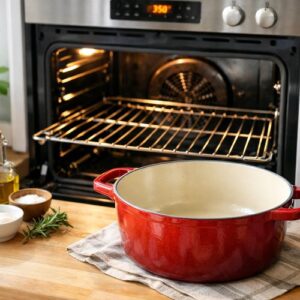
- Start by positioning your oven rack to the middle position and preheating your oven to 350°F. While it's heating, pull out your largest Dutch oven or heavy-bottomed oven-safe pot with a tight-fitting lid. Make sure it's big enough to hold all eight ribs in a relatively single layer—this helps with browning. As a registered dietitian, I always recommend having all your ingredients prepped and ready before you begin cooking. This is called mise en place, and it eliminates scrambling and keeps your focus on what's happening in the pot. Dice your onion, chop your carrots, pat your ribs dry with paper towels (this is crucial for browning), and measure out your wine, broth, and tomato paste. Tie your thyme sprigs together with kitchen twine, and have your rosemary sprigs ready.
Step 2: Sauté the Aromatics Until Fragrant
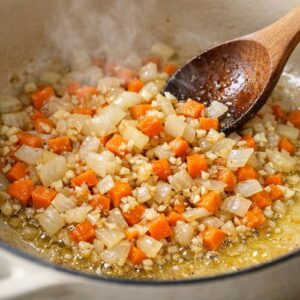
- Add 1 tablespoon of your olive oil to the Dutch oven over medium-high heat. Once it shimmers (you'll see it become loose and glossy, about 1-2 minutes), add your diced onion and chopped carrots. Stir frequently for about 4-5 minutes until the onion becomes translucent and the carrots just begin to soften at the edges. You're looking for a gentle sizzle, not aggressive browning at this stage. The vegetables should smell sweet and fragrant—that's when you know they're ready. Transfer them to a clean plate and set aside. These veggies will get cooked again during braising, so don't worry about them being fully tender.
Step 3: Season and Flour Your Ribs
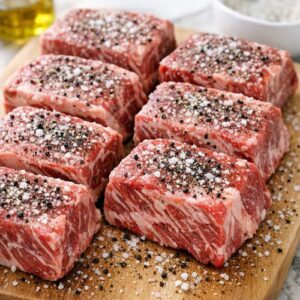
- While your vegetables are cooking, season all eight of your beef short ribs generously on all sides with fine sea salt and freshly cracked black pepper. Be confident with your seasoning—you want every surface lightly coated. Sprinkle the flour over a shallow plate and dredge each rib in the flour, shaking off any excess. The flour creates a thin crust during browning that helps develop a rich fond (those caramelized brown bits) at the bottom of the pot. Those bits are liquid gold when it comes to flavor. Don't skip this step, and don't worry about the flour being completely even—rough patches are actually preferable because they brown beautifully.
Step 4: Brown the Ribs for Maximum Flavor
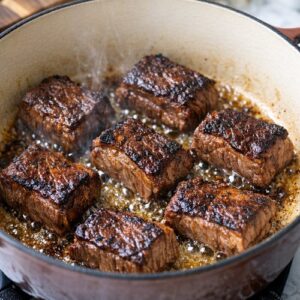
- Add the remaining 2 tablespoons of olive oil to your Dutch oven and increase the heat to high. You want the oil to be hot enough that it shimmers and moves loosely around the pan—this typically takes 2-3 minutes. Once it's ready, carefully add your floured short ribs. Brown them for approximately 45 seconds to 1 minute per side. You're looking for a deep golden-brown crust, almost mahogany in color. Work in batches if needed to avoid crowding the pan—crowding causes steaming instead of browning. Once all ribs are beautifully browned on all surfaces, transfer them to a clean plate. Don't wash the pot—those brown bits are your next step.
Step 5: Deglaze and Build Flavor
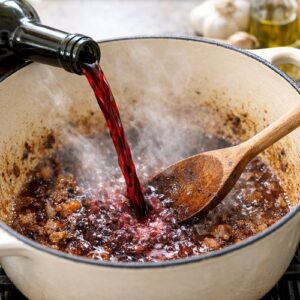
- Pour your dry red wine directly into the hot Dutch oven. You'll immediately hear a sizzle, and the wine will begin to reduce. Using a wooden spoon or silicone spatula, scrape the bottom and sides of the pot vigorously, breaking up all those caramelized brown bits and incorporating them into the wine. This is deglazing, and it's how you capture all that deep, savory flavor. Let the wine reduce for about 2 minutes at a gentle boil. You should see the liquid reduce by about half, and it will smell rich and slightly sweet. The alcohol will cook off, leaving only the wine's depth behind.
Step 6: Build Your Braising Liquid
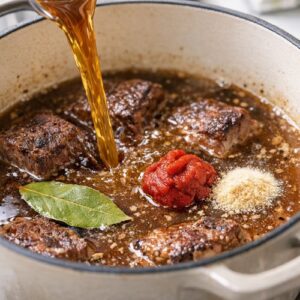
- Add your 2½ cups of low-sodium beef broth to the pot, along with the 2 tablespoons of tomato paste, ½ teaspoon of garlic powder, and your bay leaf if using. Stir everything together thoroughly, making sure the tomato paste is fully dissolved and distributed throughout the liquid. Taste the broth and add additional salt and pepper to your preference—it should taste like something you'd enjoy drinking, because essentially, this becomes your sauce. This is where my clinical expertise comes in: by building layers of flavor now, you're creating umami-rich braising liquid that's naturally satisfying. You won't need cream or extra fat to make this luxurious—the collagen from the bones and the gelatin released during cooking will do that work for you.
Step 7: Combine and Braise
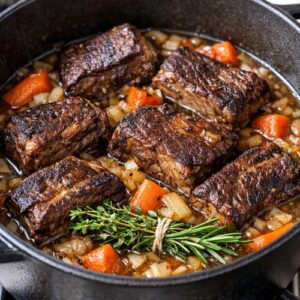
- Return your browned short ribs to the pot along with your sautéed onions and carrots. Tuck your tied thyme sprigs and rosemary sprigs into the liquid so they're partially submerged. The braising liquid should come about three-quarters of the way up the sides of the ribs—if it doesn't, add a bit more broth. Cover the Dutch oven with its lid and carefully transfer it to your preheated 350°F oven. Set a timer for 2 hours.
Step 8: First Check and Temperature Adjustment
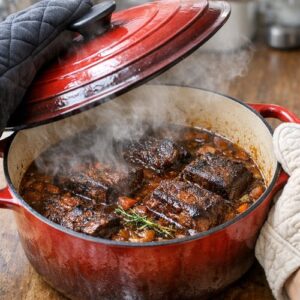
- After 2 hours, carefully remove the Dutch oven from the oven (use both hands and oven mitts—it's heavy and hot). Lift the lid away from you to avoid steam burns. The ribs should be getting tender, but they might not be quite there yet. This is where your intuition matters. Reduce your oven temperature to 325°F and return the covered pot to the oven for an additional 30-45 minutes. The lower temperature allows for gentler, more even cooking. The ribs are done when a fork easily pierces the meat with almost no resistance, and the meat is beginning to pull away from the bone.
Step 9: Rest Before Serving
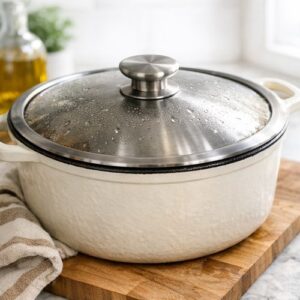
- Once your ribs are perfectly tender, remove the pot from the oven and let it rest, covered, for 20 minutes. This resting period allows the collagen to set slightly and the meat to reabsorb some of the braising liquid, keeping it incredibly moist. While it's resting, prepare your serving vessel—whether that's mashed potatoes, egg noodles, or cauliflower rice. During this time, you can skim any excess fat from the top of the braising liquid if you prefer. I usually leave some of that fat because it carries flavor, but it's entirely your choice.
Step 10: Plate and Serve With Gravy
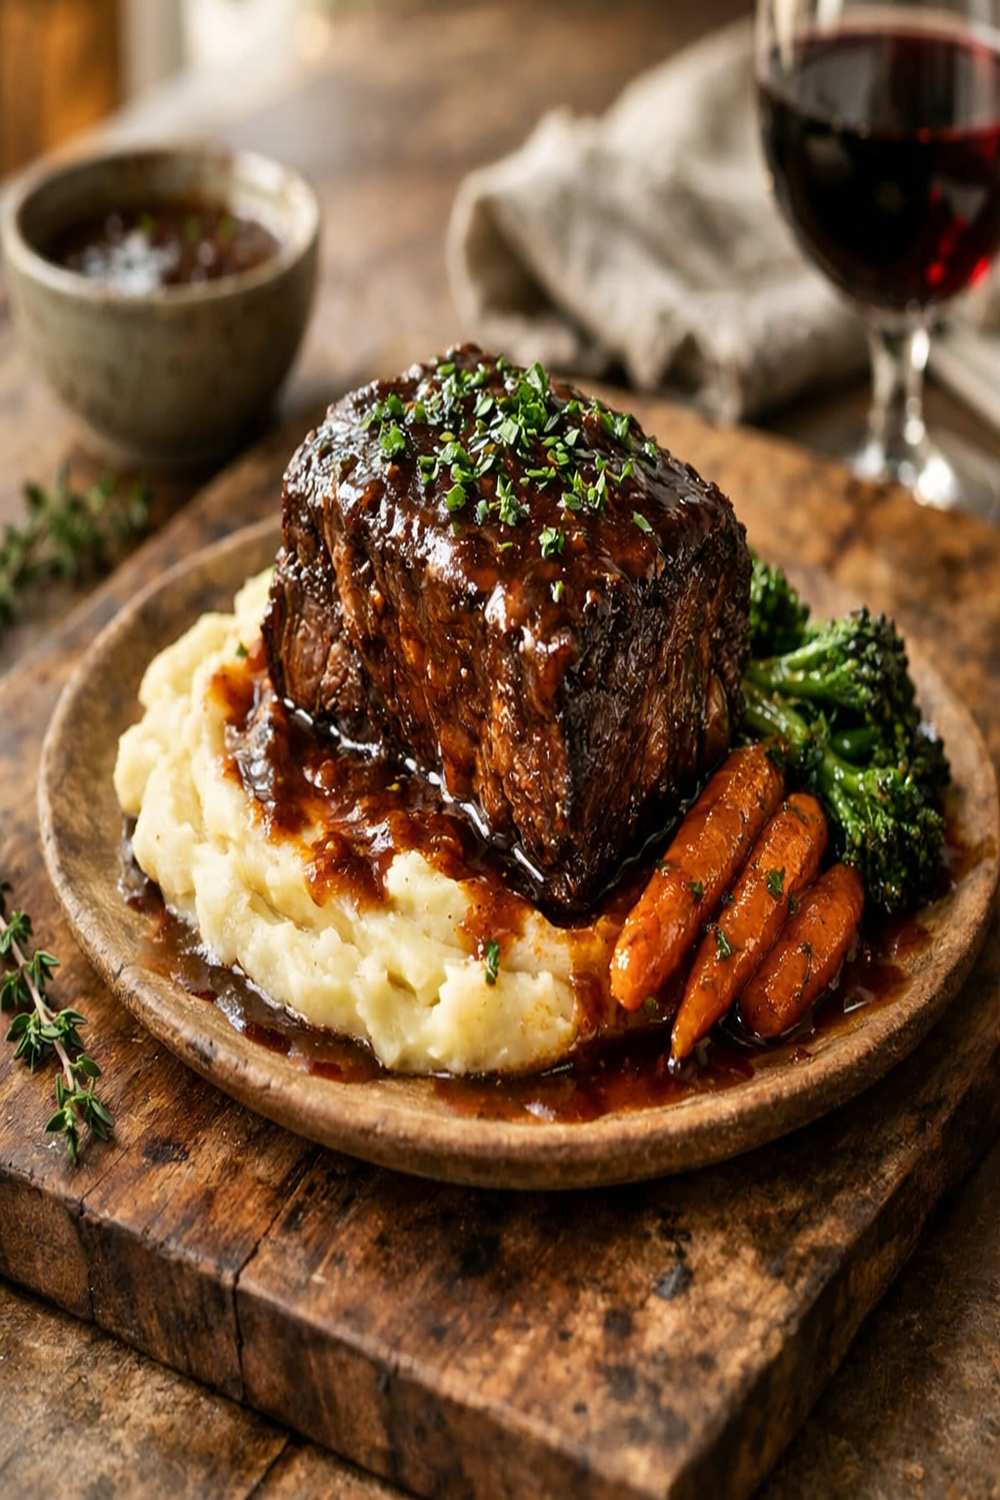
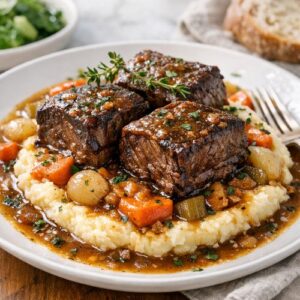
- Arrange your short ribs over your chosen base, spoon the braising liquid and vegetables around them generously, and serve immediately while everything is hot. The gravy is the star here—don't skimp on it.
Notes
- Ask your butcher to cut the ribs - Beef short ribs can be unwieldy. A good butcher will cut them into manageable pieces and trim excess fat if you ask. This also helps them cook more evenly.
- Don't skip the browning step - It takes about 10 minutes, but it's where most of the flavor development happens. Properly browned meat creates a Maillard reaction that you simply can't replicate by going straight to braising.
- Use wine you'd actually drink - The quality of your braising liquid matters. A cheap, unpleasant wine will result in unpleasant flavors in your dish. I like Pinot Noir because it has enough body without being too heavy.
- Fresh herbs make a difference - If you have them, use fresh thyme and rosemary. Dried herbs can work, but fresh brings a brighter, more complex flavor that really elevates this dish.
- Make extra braising liquid - If you're feeding a crowd, increase the broth to 3 cups instead of 2½. Extra sauce is never a problem, and it freezes beautifully.
- Plan for make-ahead cooking - This dish is actually better the next day because flavors have more time to meld. You can braise the ribs completely, cool them, and refrigerate overnight. Reheat gently in a 325°F oven, covered, for about 30-40 minutes.