
Ingredients
Method
Step 1: Prepare Your Workspace and Preheat
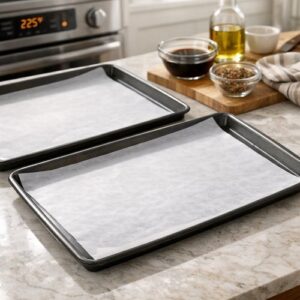
- Start by preheating your oven to 225°F. Line two large rimmed baking sheets with parchment paper—this prevents sticking and makes cleanup so much easier. I keep my oven thermometer inside to verify the temperature because older ovens often run hot or cold, and accuracy matters here. While the oven reaches temperature, remove your flank steak from the refrigerator and let it sit for about 5 minutes so it's easier to handle but still cold enough to slice cleanly. Vegan modification: If you're using mushrooms, pat them dry with paper towels first—excess moisture prevents them from reaching the proper jerky texture. For plant-based meat, follow the package instructions for thickness before seasoning.
Step 2: Slice Your Protein Against the Grain
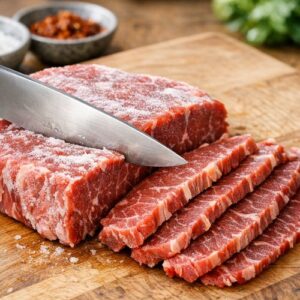
- This is where texture magic happens. Place your partially frozen steak on a cutting board and, using a sharp knife, cut crosswise through the meat—meaning you're slicing perpendicular to the long fibers you see running through it. This breaks up those tough muscle fibers and makes every bite tender to chew. Work toward strips that are roughly 2 inches wide and about ⅛ inch thick. If your slices come out thicker, cut each one lengthwise to reach that ideal thinness. The partial freezing matters enormously here. I learned this years ago when a client with arthritis struggled with knife control, and I realized that slightly frozen meat is so much more manageable for anyone dealing with hand strength or stability issues. Vegan modification: For mushrooms, slice them lengthwise to create long, thin strips that mimic the texture of meat jerky. For plant-based meat products, follow their slicing recommendations, which usually call for thin strips as well.
Step 3: Tenderize and Let Rest
- Let your meat strips sit at room temperature for about 15 minutes. This allows them to fully thaw and become more pliable. Then arrange them in a single layer on a cutting board, cover loosely with plastic wrap, and use a meat mallet to gently pound them. Work from the center outward with even, light pressure—you're not trying to smash them flat, just create uniform thickness so they dry evenly in the oven. This step prevents thick spots that stay chewy while thin spots become brittle. Uniform thickness means uniform drying, and that's the secret to professional-quality jerky every time. Vegan modification: Mushroom slices are naturally thin enough that you can skip the pounding step. For plant-based meat, check if it needs tenderizing based on the product instructions.
Step 4: Season Generously
- Place all your prepared meat strips in a large bowl. Add the kosher salt, garlic powder, chili powder, black pepper, smoked paprika, and cayenne. Using your hands, toss everything together thoroughly—I mean really work it so every piece gets coated evenly. This takes about 2 minutes of tossing. Your hands will help you feel whether every strip is covered and ensure the spices stick properly. Vegan modification: Add 1 tablespoon of low-sodium tamari to your seasoning bowl before mixing with mushrooms. This adds salty, savory depth that mimics the umami of meat. Let it sit for 5 minutes so the mushrooms absorb the flavors. Keto note: All these spices are naturally keto-friendly with zero carbs. The ratio of fat to protein in beef jerky is perfect for maintaining ketosis without feeling deprived.
Step 5: Arrange on Baking Sheets
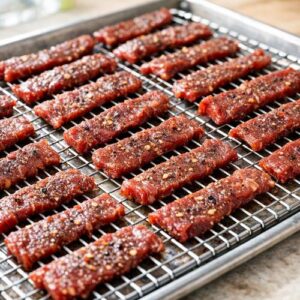
- Spread the seasoned strips across your prepared baking sheets in a single layer, making sure they don't touch each other. They need air circulation on all sides to dry properly. If you're crowding the pan, use a third baking sheet. Space is not your enemy here—it's your ally for perfect texture. This is also the moment to set a timer for the first rotation. In my practice, I teach clients that setting a reminder on their phone prevents that "Did I rotate those?" worry that pulls you away from other tasks.
Step 6: Bake and Rotate Midway
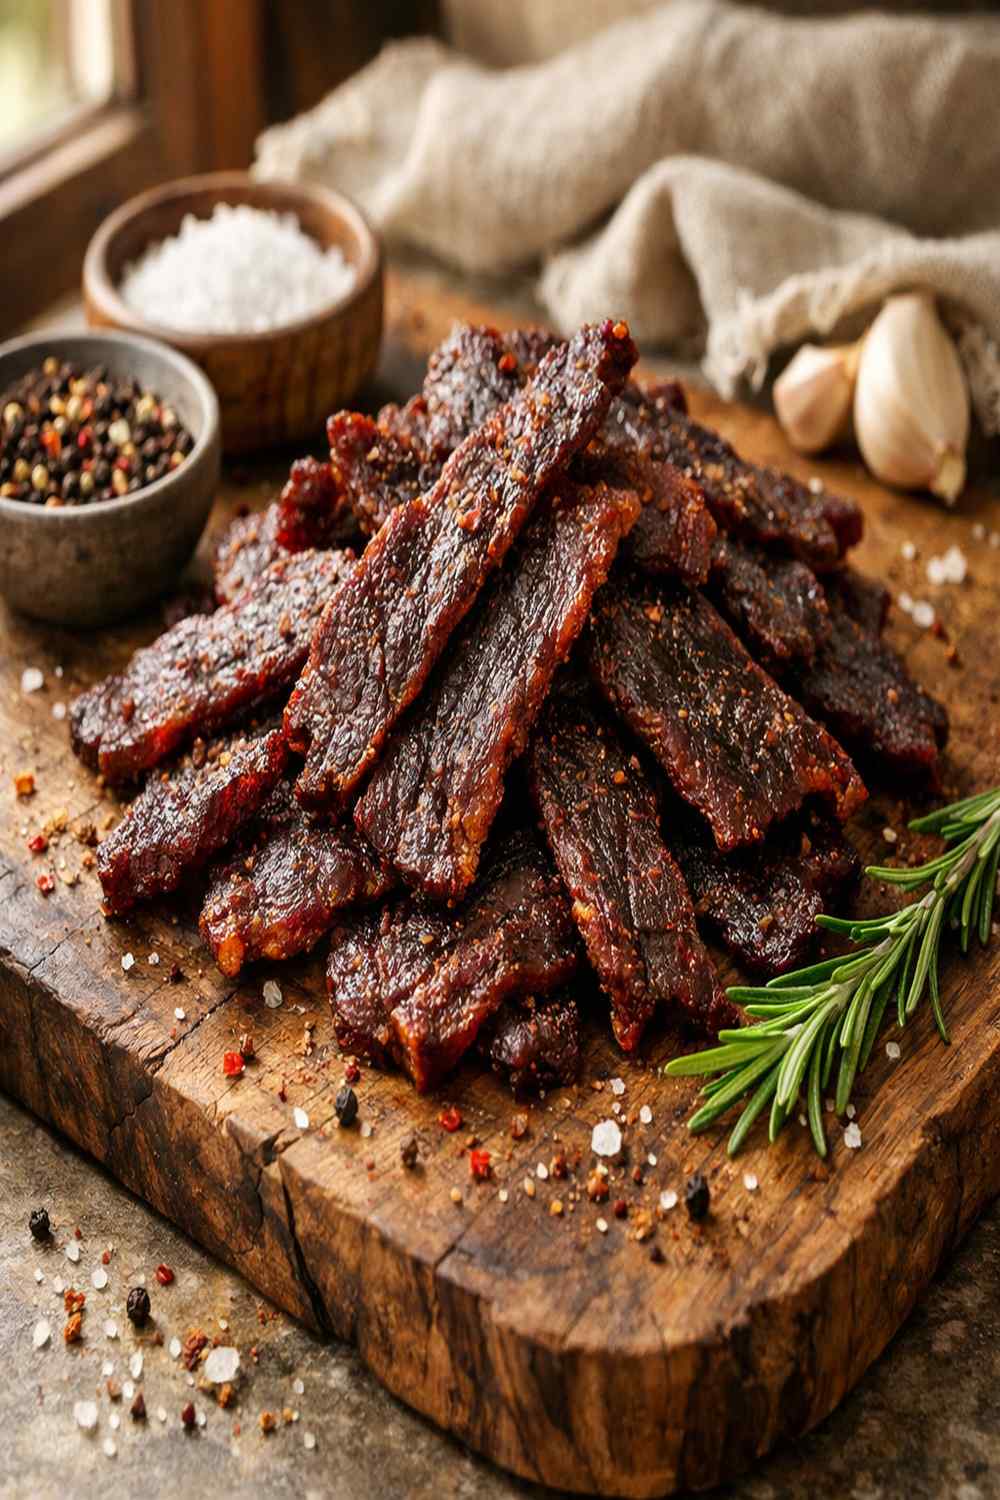
- Place both sheets in the oven and bake for 3 hours total. Midway through—at about the 1.5-hour mark—rotate the position of the baking sheets. Swap the one on the top rack with the one on the bottom. This ensures even drying because every oven has hot spots. You'll start noticing the aroma after about 45 minutes, and honestly, it's one of the best parts of this process. Vegan modification: Mushroom jerky may finish slightly faster, sometimes in 2.5 to 2.75 hours. Watch for the edges to darken and curl slightly, which signals they're done. Plant-based meat typically follows the same 3-hour timeline as beef. Your finished jerky should look brown and dried but not burnt. The color should be deep mahogany, not charred black. A slight bend in the strip indicates it's done; if it snaps cleanly in half, you've gone a touch too far.
Step 7: Cool and Store
- Remove the beef strips to a cooling rack set on top of a tray or sheet of aluminum foil to catch any drips. Let them cool and continue drying at room temperature for about 30 minutes. This final resting period lets the moisture finish evaporating and the texture set properly. Once cooled, they're ready to eat immediately or store for later. This is where I always tell clients to take a moment and simply enjoy what you've made. There's something grounding about homemade food that store-bought can never quite capture.