
Ingredients
Method
Step 1: Prepare Your Workspace and Preheat
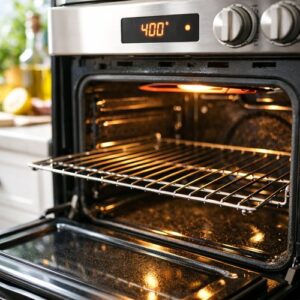
- Start by positioning your oven rack to the middle position and preheating your oven to 400°F. This typically takes 8-10 minutes, so begin here while you gather everything else. Never leave the oven unattended once it's on, and make sure children understand that the oven and baking sheets get extremely hot. I always use this time to get little ones to wash their hands, get a stool or step ladder positioned if they're helping, and clear the counter space where you'll be working. Having everything ready before you start cooking—what chefs call mise en place—makes the entire process feel calm and organized, not rushed.
Step 2: Arrange Shrimp on Your Baking Sheet
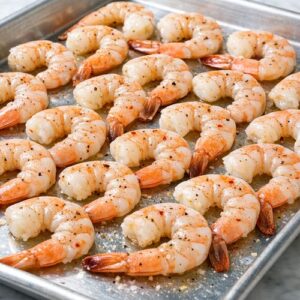
- Take a large rimmed baking sheet (I prefer aluminum rather than dark nonstick, which can cause the bottom to brown too quickly) and arrange your shrimp in a single layer. They should be touching but not overlapping, which allows heat to reach every side evenly. If you're cooking with younger kids, let them help arrange the shrimp—it's a great opportunity for counting, pattern-making, and fine motor skill practice. Remind children that while raw shrimp is perfectly safe to touch, hands should be washed thoroughly before touching their face or other food.
Step 3: Combine Your Seasonings
- In a small bowl, whisk together your kosher salt, black pepper, red pepper flakes, garlic powder (or minced fresh garlic), Italian seasoning, and lemon juice. This step is perfect for school-age helpers—they can measure each ingredient while you supervise, then use a fork or small whisk to combine everything. You're creating a flavor base that will coat every piece of shrimp evenly, so don't skip this step even if it feels like an extra dish.

Step 4: Add Butter and Toss Everything Together
- Pour your melted butter over the arranged shrimp, then sprinkle your seasoning mixture evenly across the top. Using a pair of tongs or two forks (or even clean hands, if your family is comfortable), gently toss the shrimp so every piece gets coated with butter and seasonings. This is the moment where kids who helped prepare ingredients suddenly see magic happen—their ingredients have transformed into something that smells absolutely incredible. Take a moment to let them smell it. Build anticipation. Make this feel special.

Step 5: Bake Until Pink and Opaque
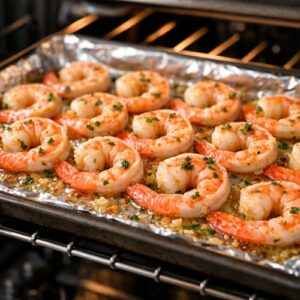
- Transfer your baking sheet to the preheated oven and set a timer for 8 minutes. This is a strict timeframe—overcooked shrimp becomes tough and rubbery, which is a legitimate reason for kids (and adults) to reject seafood. After 8 minutes, the shrimp should be bright pink and opaque throughout with no gray or translucent sections remaining. If you're planning to broil for extra Parmesan browning (which I recommend for added texture), line your sheet with aluminum foil instead of parchment paper, as parchment can smoke under the broiler.
Step 6: Optional Broil for Golden Cheese
- If you want deeply golden, crispy Parmesan (which adds incredible texture), turn your oven to broil and place the shrimp about 4 inches from the heating element for 1-2 minutes. Watch it closely—this happens fast. Do not leave the oven unattended during broiling. The shrimp is already fully cooked, so you're just crisping the cheese topping. Kids love this step because they can see the transformation happen through the oven window.

Step 7: Finish and Serve
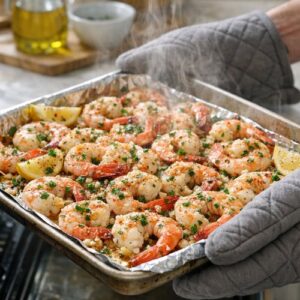
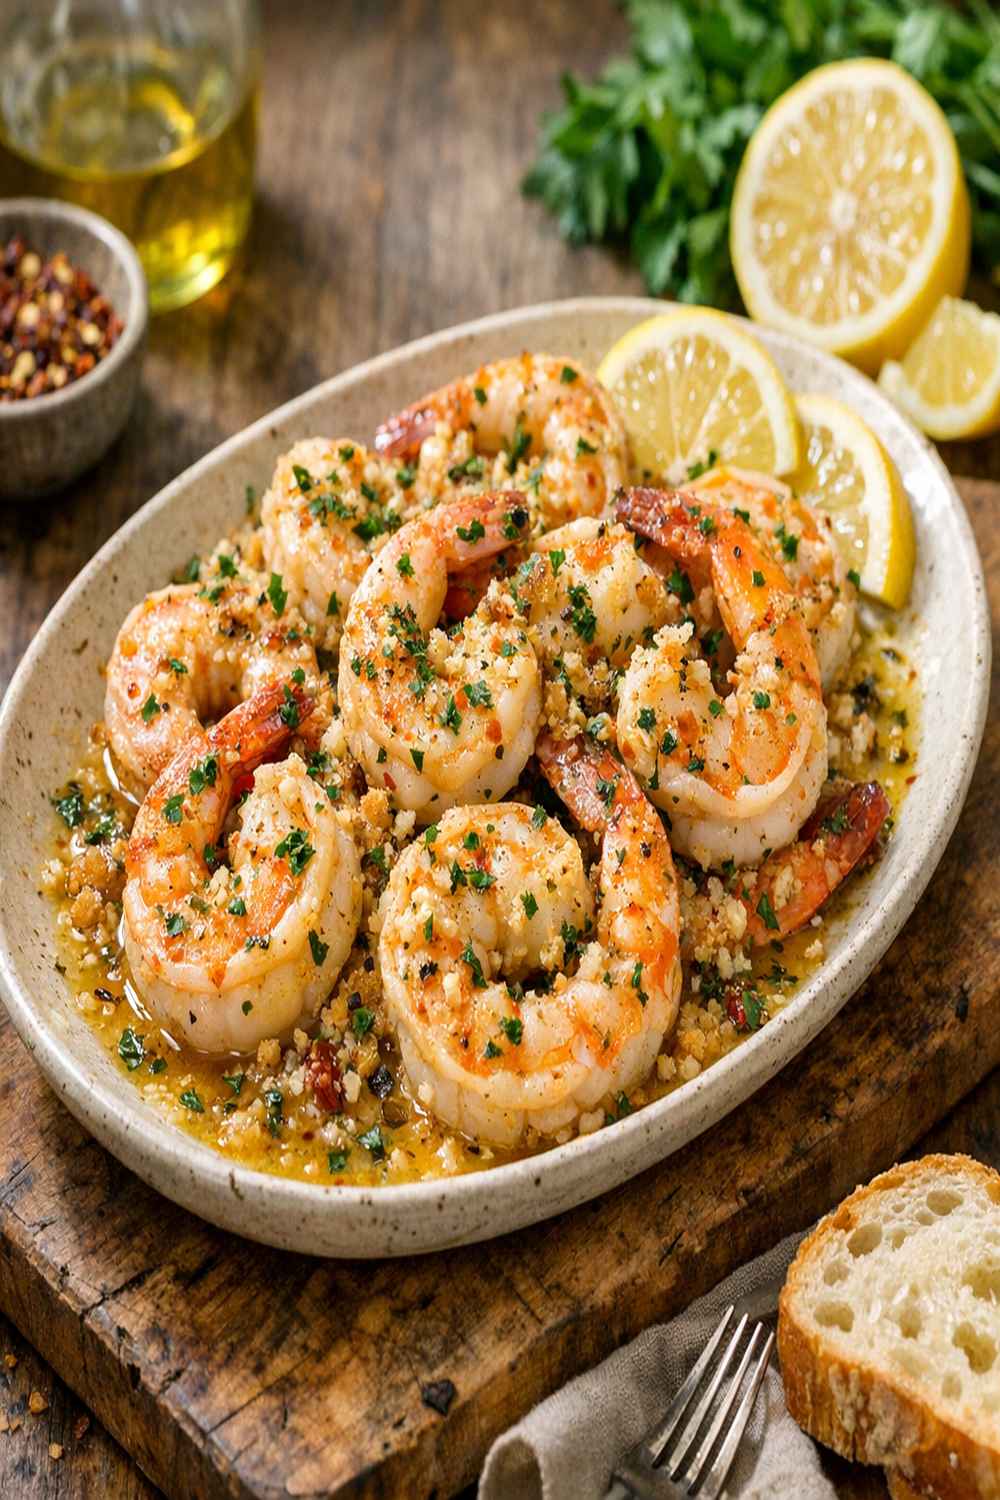
- Carefully remove your baking sheet from the oven using oven mitts—remind anyone helping that the sheet, the shrimp, and even the steam coming from it are dangerously hot. Transfer the shrimp to a serving platter and spoon all those buttery pan juices over the top. Those golden, garlicky drippings are liquid gold for flavor, so don't waste them. Serve immediately while everything is warm, and watch your family's faces light up.