Ingredients
Method
Step 1: Prep Your Kale With Intention
- Start by rinsing your kale thoroughly under cool running water. This removes any field debris and also begins the drying process. Pat the leaves completely dry with paper towels or a clean kitchen towel—this step is non-negotiable for crispy results. Moisture is the enemy of crisping, so don't rush it. Once dry, remove the tough center stems by holding the leaf in one hand and sliding your other hand along the stem toward the tip. The leafy parts will tear away easily, leaving you with tender pieces. Discard the stems (or save them for vegetable broth if you're that kind of cook—I sometimes do this). Tear the leaves into bite-sized pieces, roughly 2 to 3 inches. Uniform size matters because it ensures everything crisps at the same rate.
Step 2: Preheat and Prepare Your Oven Space
- Set your oven to 325°F and line a large sheet pan with parchment paper. I cannot overstate how much parchment paper improves this recipe—it prevents sticking, ensures even heat circulation underneath, and makes cleanup literally one minute. I learned this trick years ago and never looked back. The temperature matters here. You want 325°F, not higher. I know the instinct is to crank heat for crispier results, but trust me: higher temperatures cause the edges to burn before the centers crisp. Lower, slower, and more intentional always wins with kale.
Step 3: Coat With Strategy
- Place all your dried kale pieces in a large bowl. Drizzle your salad dressing evenly over the leaves—start with ¼ cup and add more if needed. Using your hands, massage the kale for about 1 to 2 minutes. You want every single leaf to glisten with dressing and feel slightly soft. This is not optional—the massage breaks down the cell walls slightly, which helps both flavor absorption and crisping. The dressing does multiple things here: it adds flavor without excessive oil, helps the seasonings adhere, and creates the perfect environment for crisping. Ranch, balsamic vinaigrette, Italian—I've tested them all. Pick whatever you have because they all work beautifully.
Step 4: Season and Spread Evenly
- Sprinkle your kale with sea salt and cracked pepper (if using). Then spread the leaves in a single layer on your prepared sheet pan—this is crucial. Overcrowding causes steaming instead of crisping. If you have two sheet pans, use them both. I'd rather take two 15-minute batches than compromise on texture. If you're using cheese or nutritional yeast, sprinkle it now, distributing it as evenly as possible so every piece gets some. The cheese will toast slightly in the oven and create these delicious caramelized edges.
Step 5: Bake Until Golden and Crispy
- Place your pan in the preheated 325°F oven and set a timer for 15 minutes. At the 15-minute mark, open the oven and check your kale. You're looking for golden-brown edges with some still-tender centers. The leaves closest to the edges of the pan will crisp faster, so a gentle toss at the 12-minute mark helps if you're not confident about even crisping. Most batches finish perfectly at 18 to 20 minutes. The exact time depends on your oven's personality and how thickly you packed your pan. When the majority of the leaves are golden but a few still have a slight chew, you're done. Remember: they'll continue to crisp as they cool, so slight underdone beats even slightly burned.
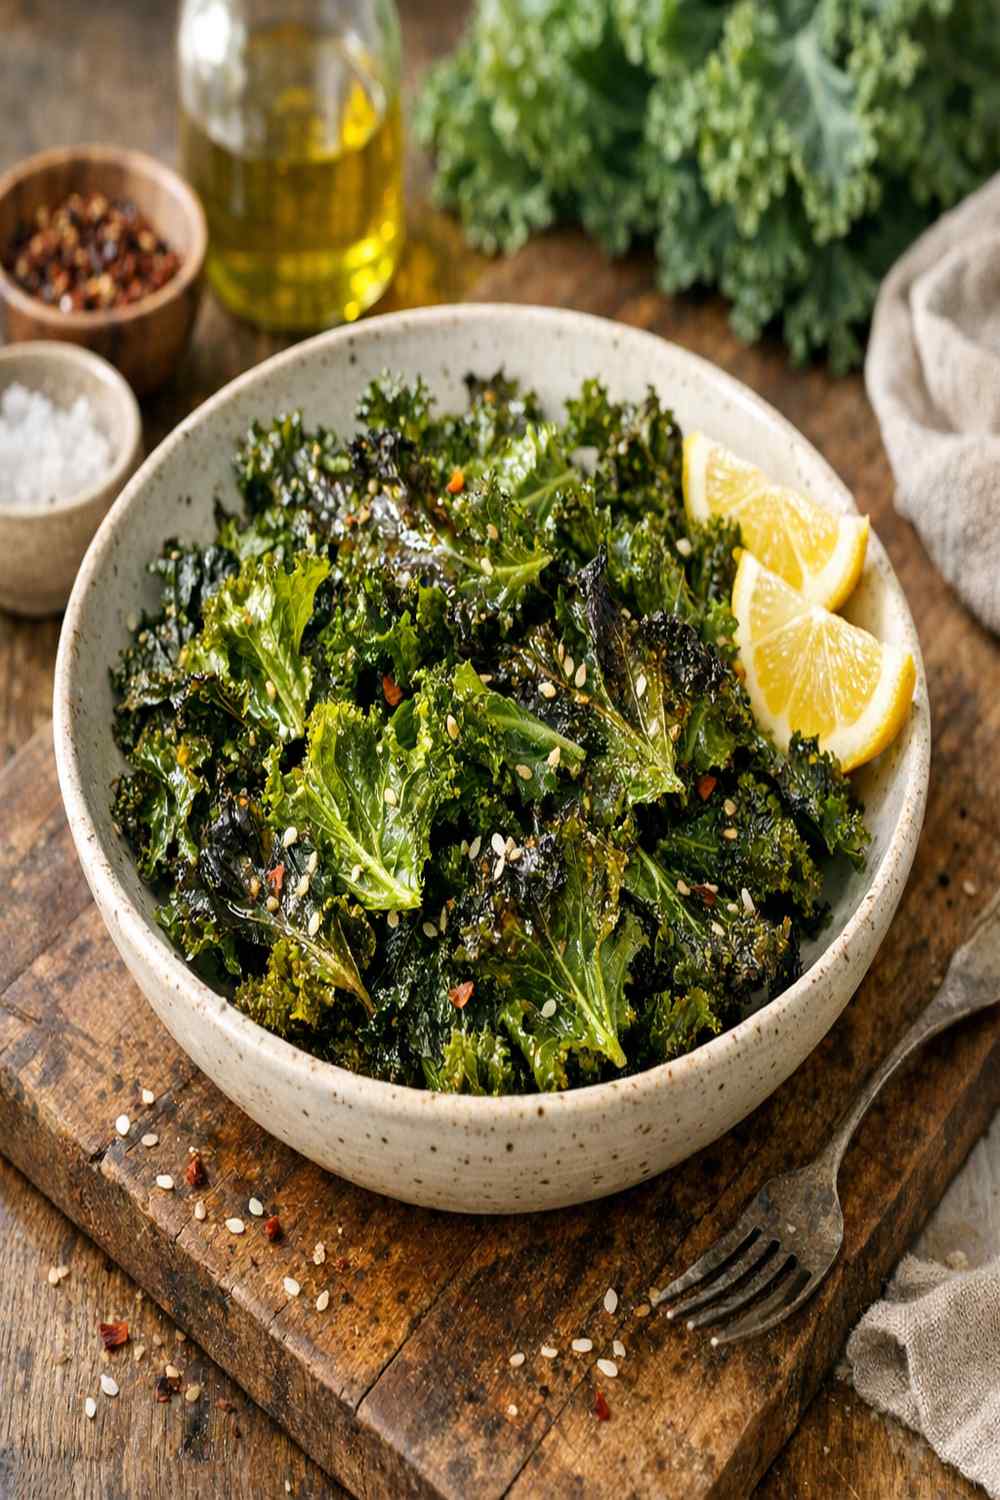
Step 6: Cool and Enjoy Immediately (or Store Thoughtfully)
- Remove your pan from the oven and let the kale cool on the pan for 3 to 5 minutes. During this time, it continues to firm up. Transfer to a serving plate or airtight container if you're storing. The best part about this recipe? It tastes incredible straight from the oven, slightly warm with that perfect salty-savory satisfaction. This is the moment that reminds me why I love cooking—not because food is medicine (though it absolutely supports your health), but because it's a genuine pleasure. Every bite delivers real flavor and real satisfaction.