Ingredients
Method
Step 1: Prepare Your Workspace and Preheat Your Oven
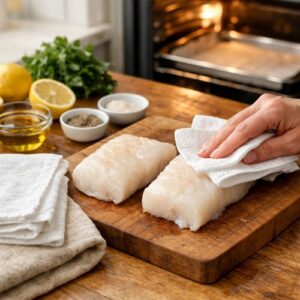
- Turn your oven on to 400°F (205°C). This takes about 10-12 minutes to preheat, and you want that done before your fish hits the pan. While your oven is heating, take out your baking sheet and line it with parchment paper. Tear off a piece large enough to cover the bottom and sides slightly. If parchment paper curls up, just anchor the corners with a tiny dab of oil on the sheet itself—it'll stay flat once your fish is on top. Now is when you prepare your cod fillets. Remove them from the refrigerator and gently pat them completely dry with paper towels. This is the most important step for getting a beautiful texture. Moisture on the surface prevents browning and makes the fish steam instead of bake. Take your time here. It feels gentle, not aggressive. You're removing surface water, not pressing out the moisture from inside the fish itself.
Step 2: Make Your Simple Flavor Mixture
- Pour your 1½ tablespoons of olive oil into a small bowl. Add the 1 tablespoon of freshly squeezed lemon juice (squeeze it right from half a lemon if you have one—it takes 10 seconds). Now add your ¼ teaspoon of sea salt, 3 dashes of cayenne pepper, and if you're using it, ½ teaspoon of garlic powder. Stir this together with a small spoon for about 15 seconds until combined. Here's what this mixture does: the oil carries fat-soluble flavor compounds that coat the fish beautifully. The lemon juice adds brightness without any heaviness. The salt enhances the natural sweetness of the cod. The cayenne adds a whisper of heat. Together, they create flavor while you sleep—well, while the fish bakes.

Step 3: Arrange Your Cod on the Prepared Pan
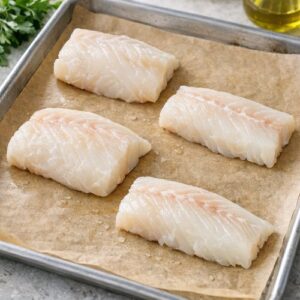
- Place your dry cod fillets on the parchment-lined baking sheet in a single layer. They should not be touching each other—leave about an inch of space around each fillet. This allows heat to circulate evenly and prevents them from steaming each other instead of baking. If you have fillets of different thicknesses, position them so the thicker ends are toward the hotter corners of your oven (usually the back corners). This helps everything cook at the same pace.
Step 4: Apply Your Flavor Mixture and Add Moisture
- Drizzle your oil-lemon mixture evenly over the top of each fillet. Use a spoon to do this slowly and deliberately. The oil should coat the top and some should pool slightly on the pan itself—this is perfect. You want to use all of your mixture; nothing should be left in the bowl. Now—and this is the professional touch that most home cooks skip—pour about 2 tablespoons of low-sodium broth into the bottom of the pan, around (not on top of) the fish. This creates steam that keeps the cod impossibly moist while it bakes. If you don't have broth, use water. If you use nothing, your cod will still be delicious, just slightly less tender. But I encourage you to try it this way.

Step 5: Bake Until Perfect Doneness
- Place your baking sheet into the preheated 400°F oven. Set a timer for 10 minutes. At the 10-minute mark, open your oven and peek at your cod. You're looking for specific visual cues that I'll explain in the next section. If your fillets are ¾-inch thick, they'll likely be done at 10 minutes. If they're thicker (closer to 1 inch), they might need 12 minutes. Close the door and check every 1-2 minutes after the 10-minute mark until doneness is achieved. Do not walk away from the oven during this time. I know it feels paranoid, but fish cooks so quickly that you want to be present. This is actually a gift—it means you'll know exactly what "done" looks like, and you'll recognize it instantly every single time you make this recipe.
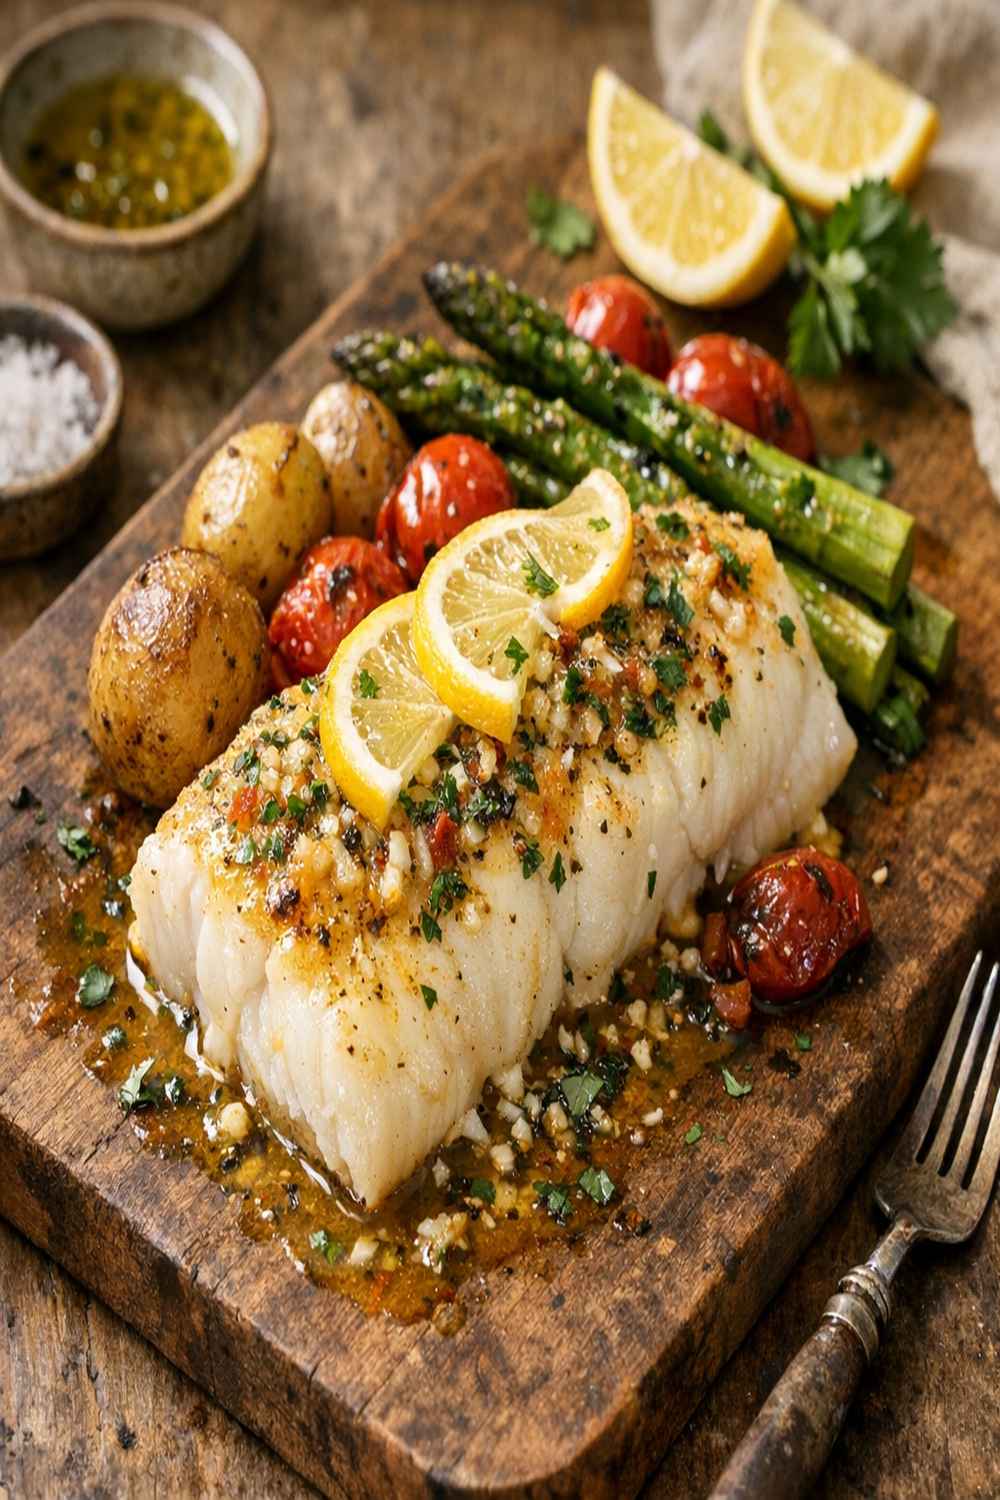
Step 6: Finish and Serve Immediately
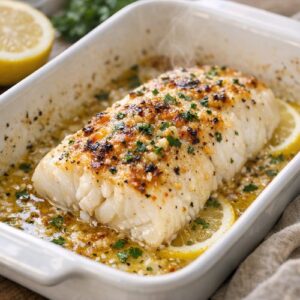
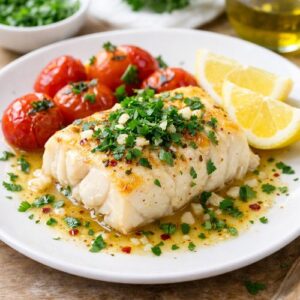
- When your cod is ready, remove it from the oven using oven mitts (the pan and any liquid will be hot). Sprinkle your 1 tablespoon of fresh chopped parsley evenly over the top of each fillet. The parsley should still be bright green—not wilted, not yellowed. This brightens the appearance and adds a fresh herbal note that makes people think you spent hours cooking when you spent 30 minutes. Serve immediately onto plates while the fish is still hot. Cold baked cod loses its texture and appeal, so don't let it sit. Plate it, eat it, enjoy it.
Notes
- ½ teaspoon garlic powder (optional addition that I love; already in most pantries and adds subtle depth without any extra prep work)
- 3 small dashes cayenne pepper (this gives gentle heat without overwhelming the fish; if you don't like spice, use white pepper instead, or skip it entirely—this is flexible)
- ¼ teaspoon fine sea salt (not table salt, which has additives and tastes metallic; sea salt is a staple pantry item that costs just a few dollars and lasts for months)
- 2 tablespoons low-sodium chicken or vegetable broth (optional; adds moisture and flavor to the pan while the cod bakes, which is a professional technique that home cooks often skip)
- 1 pound (450g) cod fillets, about ¾-inch thick (look for fillets that are pale white or off-white in color, with a slightly translucent appearance; they should smell fresh like the ocean, not pungent; buy from the fish counter and ask the fishmonger when they arrived—same-day delivery is ideal; frozen cod works beautifully too and often costs less)
- 1 tablespoon freshly squeezed lemon juice (fresh is non-negotiable here—bottled lemon juice lacks the brightness that makes this dish sing; keep lemons in your fruit bowl; one lemon yields about 2-3 tablespoons of juice)