Ingredients
Method
Step 1: Prepare the Garlic
- Start by preheating your oven to 400°F (200°C). Next, take that wonderful garlic bulb and peel away the exterior layers. You want the papery skin removed but keep the cloves intact. Then, slice the top of the garlic off, exposing the individual cloves. It’s like giving the garlic a haircut, too much off and it can get a bit messy.
Step 2: Season the Garlic
- Place the garlic bulb on a piece of aluminum foil. Drizzle about 1 tablespoon of that lovely extra virgin olive oil over the exposed cloves. Sprinkle sea salt on top, and add the chopped fresh rosemary. Feel free to get your hands a little oily here; rub the oil and rosemary into the cloves for full flavor.
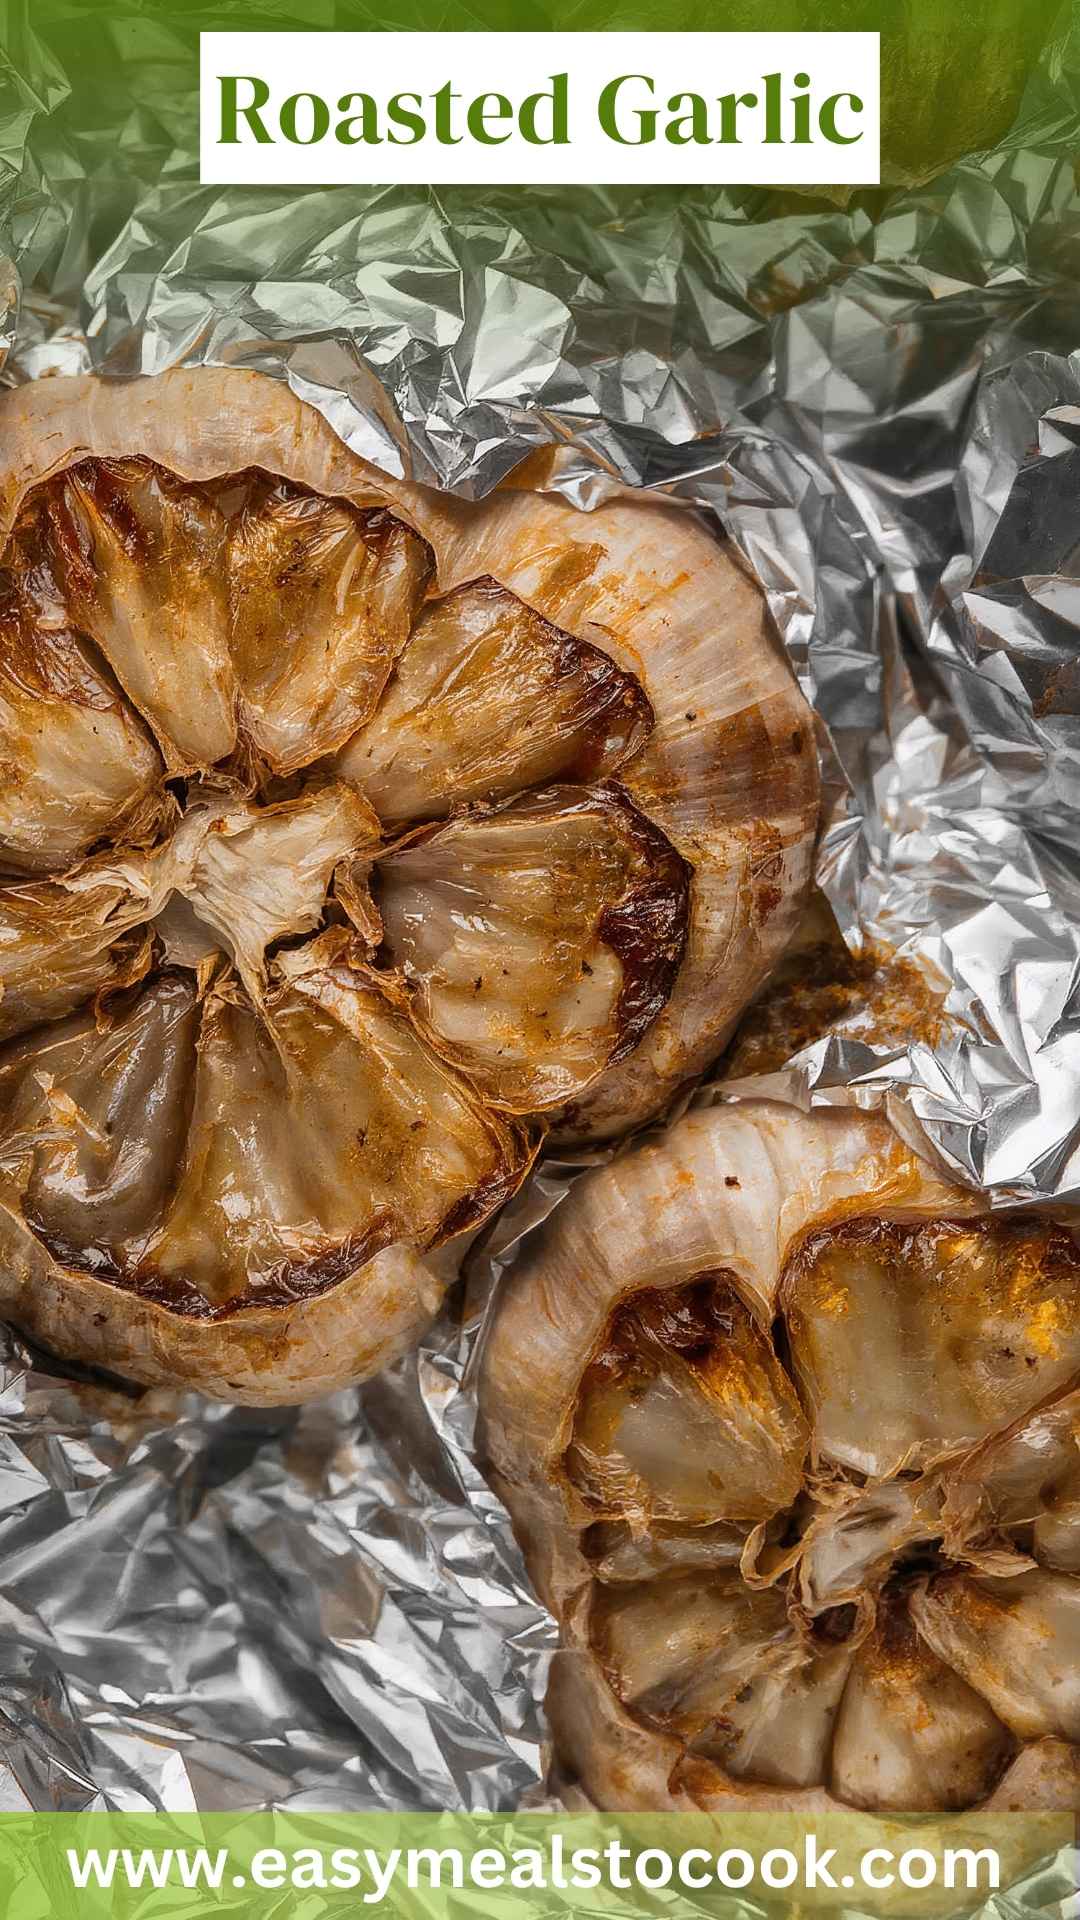
Step 3: Wrap It Up
- Wrap the garlic bulb tightly in the aluminum foil; it’s like tucking it in for a cozy nap. This will ensure it roasts evenly and captures all those delightful juices.
Step 4: Roast
- Pop the wrapped garlic on a baking sheet and place it in the preheated oven. Let it roast for 30 to 35 minutes. The kitchen will start to smell heavenly, and you’ll know it’s almost ready when the outside becomes golden brown and the cloves are soft to the touch.
Step 5: Cool and Enjoy
- Once it’s done, take the garlic out of the oven and let it cool for a few minutes. Carefully unwrap it—watch out for steam! Once it’s safe to handle, squeeze the bottom of the bulb. The soft, caramelized garlic should pop right out. You can spread it on bread, mix it into dishes, or even eat it straight!
Notes
- Garlic Bulbs: Choose firm bulbs that feel heavy for their size. Avoid any that are sprouted or mushy.
- Sea Salt: This brings out the natural sweetness of garlic. Depending on your taste, you can add more or less.
- Extra Virgin Olive Oil: Look for cold-pressed options for superior flavor. Great olive oil makes a notable difference.
- Fresh Rosemary: If you don’t have rosemary on hand, thyme or oregano could work as substitutes, but rosemary’s flavor complements garlic exceptionally well.