Ingredients
Method
Step 1: Prepare Your Ingredients
- Start by combining the ground beef, Worcestershire sauce, chopped onion, sea salt, Dijon mustard, minced garlic, and black pepper in a bowl. Mix gently, taking care not to overwork the meat. This is crucial; over-mixing will lead to dense patties. Form the mixture into six equally sized patties, about ¾-inch thick. Make a small indent in the center of each patty with your thumb; this helps the burger cook evenly.
Step 2: Preheat the Grill
- Prepare your grill by preheating it to medium-high heat. Make sure the grates are clean and lightly oiled to prevent sticking. I’ve found that preheating your grill is a game-changer. The right temperature ensures a beautifully seared crust on your burgers.
Step 3: Season and Grill
- Dust each patty lightly with extra salt and pepper right before placing them on the grill. This creates a beautiful crust. Place the patties gently on the grill grates. Let them cook for about 4-5 minutes on one side. Don’t press down on them! This squashes the juices out and can lead to dryness. Flip the burgers after you see clear grill marks, and cook for another 3-4 minutes for medium-rare. Use a meat thermometer for accuracy; 160°F is ideal for ground beef.
Step 4: Add Cheese (Optional)
- If you’re going the cheeseburger route, add cheese in the last minute of cooking. This allows it to melt and get gooey without overcooking the burger.
Step 5: Toast Buns
- While the burgers finish cooking, spread softened butter on the insides of the hamburger buns. Place them cut-side down on the grill for 1-2 minutes until they’re golden and slightly crispy.
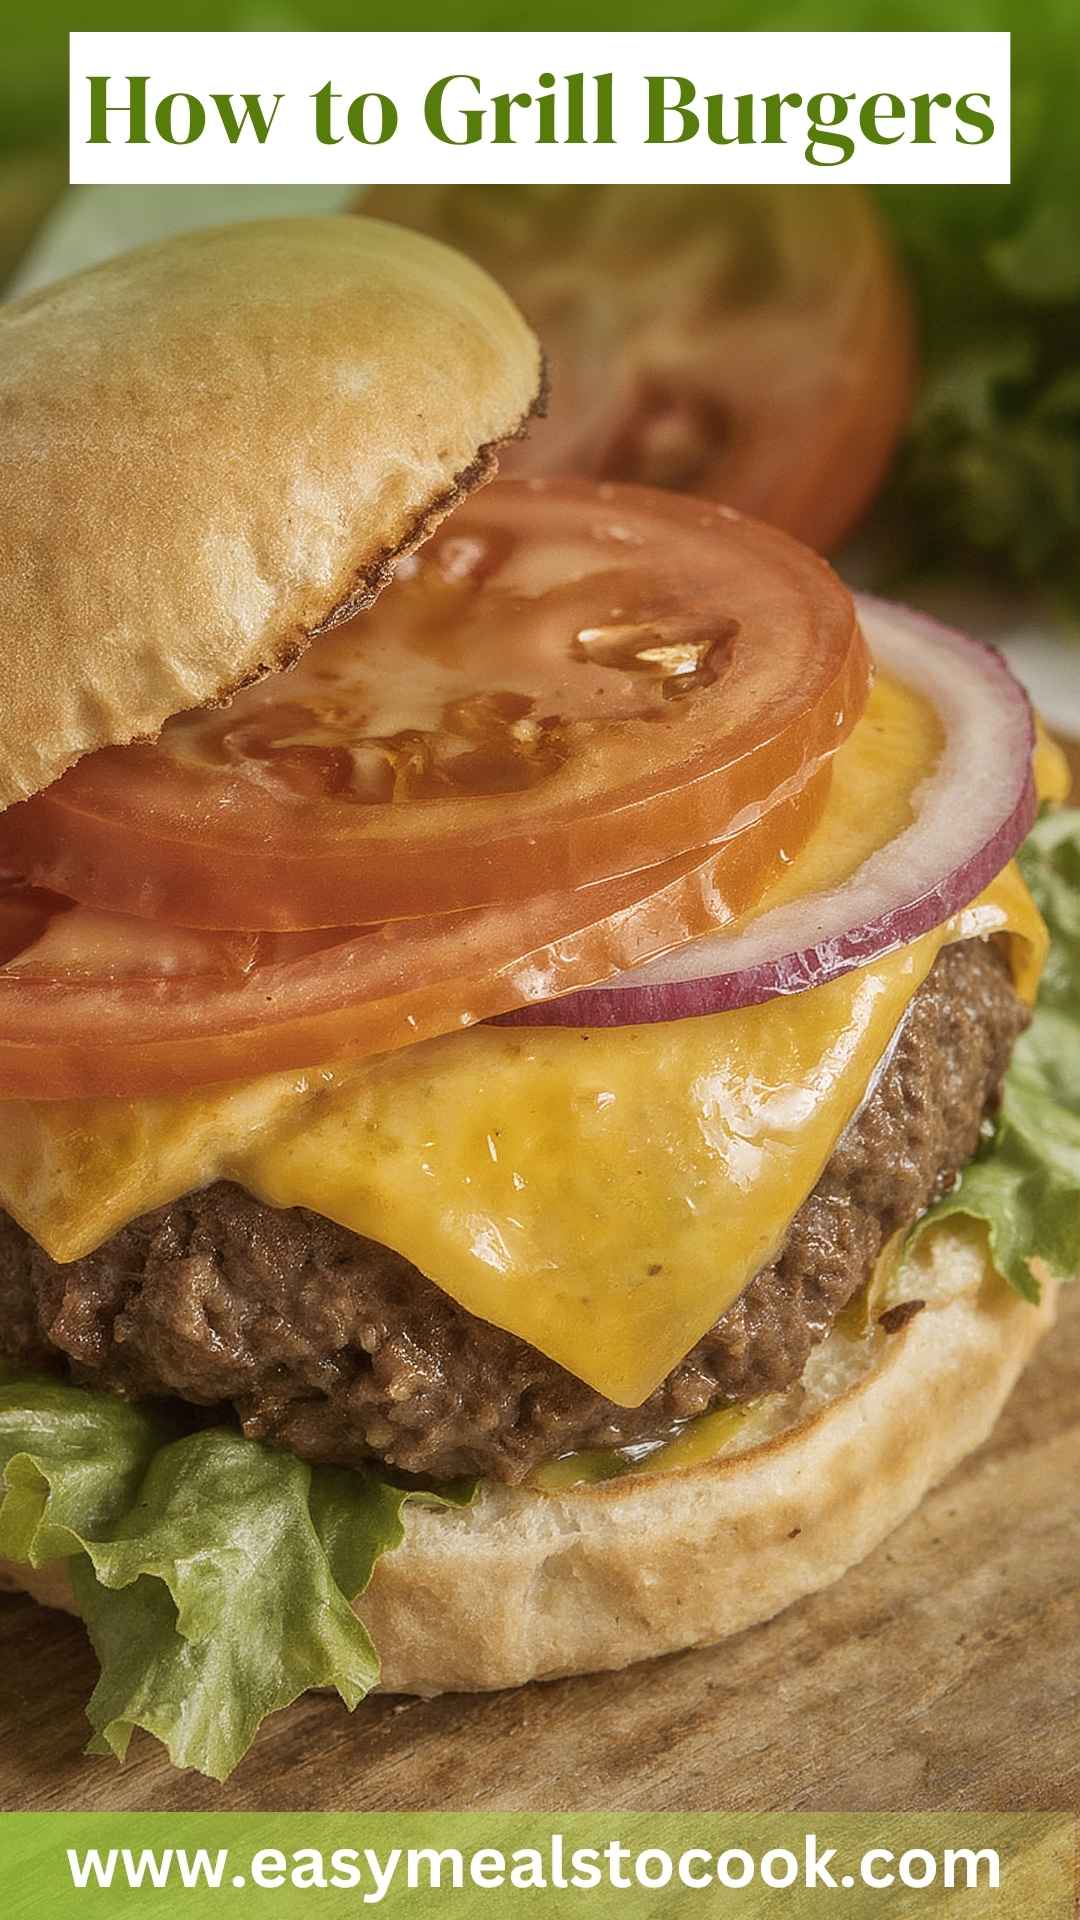
Step 6: Assemble Your Burger
- Remove the patties from the grill and let them rest for a couple of minutes. This lets the juices redistribute. Assemble your burger by placing the patty on the bun and adding your favorite toppings. Let your creativity shine!
Notes
- Don’t Flip Too Often: Each patty should only be flipped once. It allows for even cooking.
- Make Ahead: You can prep the patties a day before and keep them in the fridge until grilling time. This enhances flavor!
- Use a Burger Press: If you want perfectly shaped patties, consider a burger press. It’s a small investment for better results.
- Experiment with Spices: Don’t hesitate to add spices. Try a pinch of cayenne pepper for heat or mix in fresh herbs for uniqueness.
- Allow for Resting: Resting cooked burgers is essential. This practice helps maintain juiciness, giving you a better result.