When I first encountered an artichoke, I’ll admit—I was a bit intimidated. It sat there, a spiky green mystery on the counter, daring me to figure it out. Fast forward to today, and it’s one of my favorite vegetables to prepare.
Cooking and eating an artichoke can seem daunting, but honestly, it’s mostly about simplifying the process and embracing the fun. That’s what I’m here to share with you—my journey through the art of artichoke preparation and some flavorful ways to enjoy this unique veggie.

What is an Artichoke?
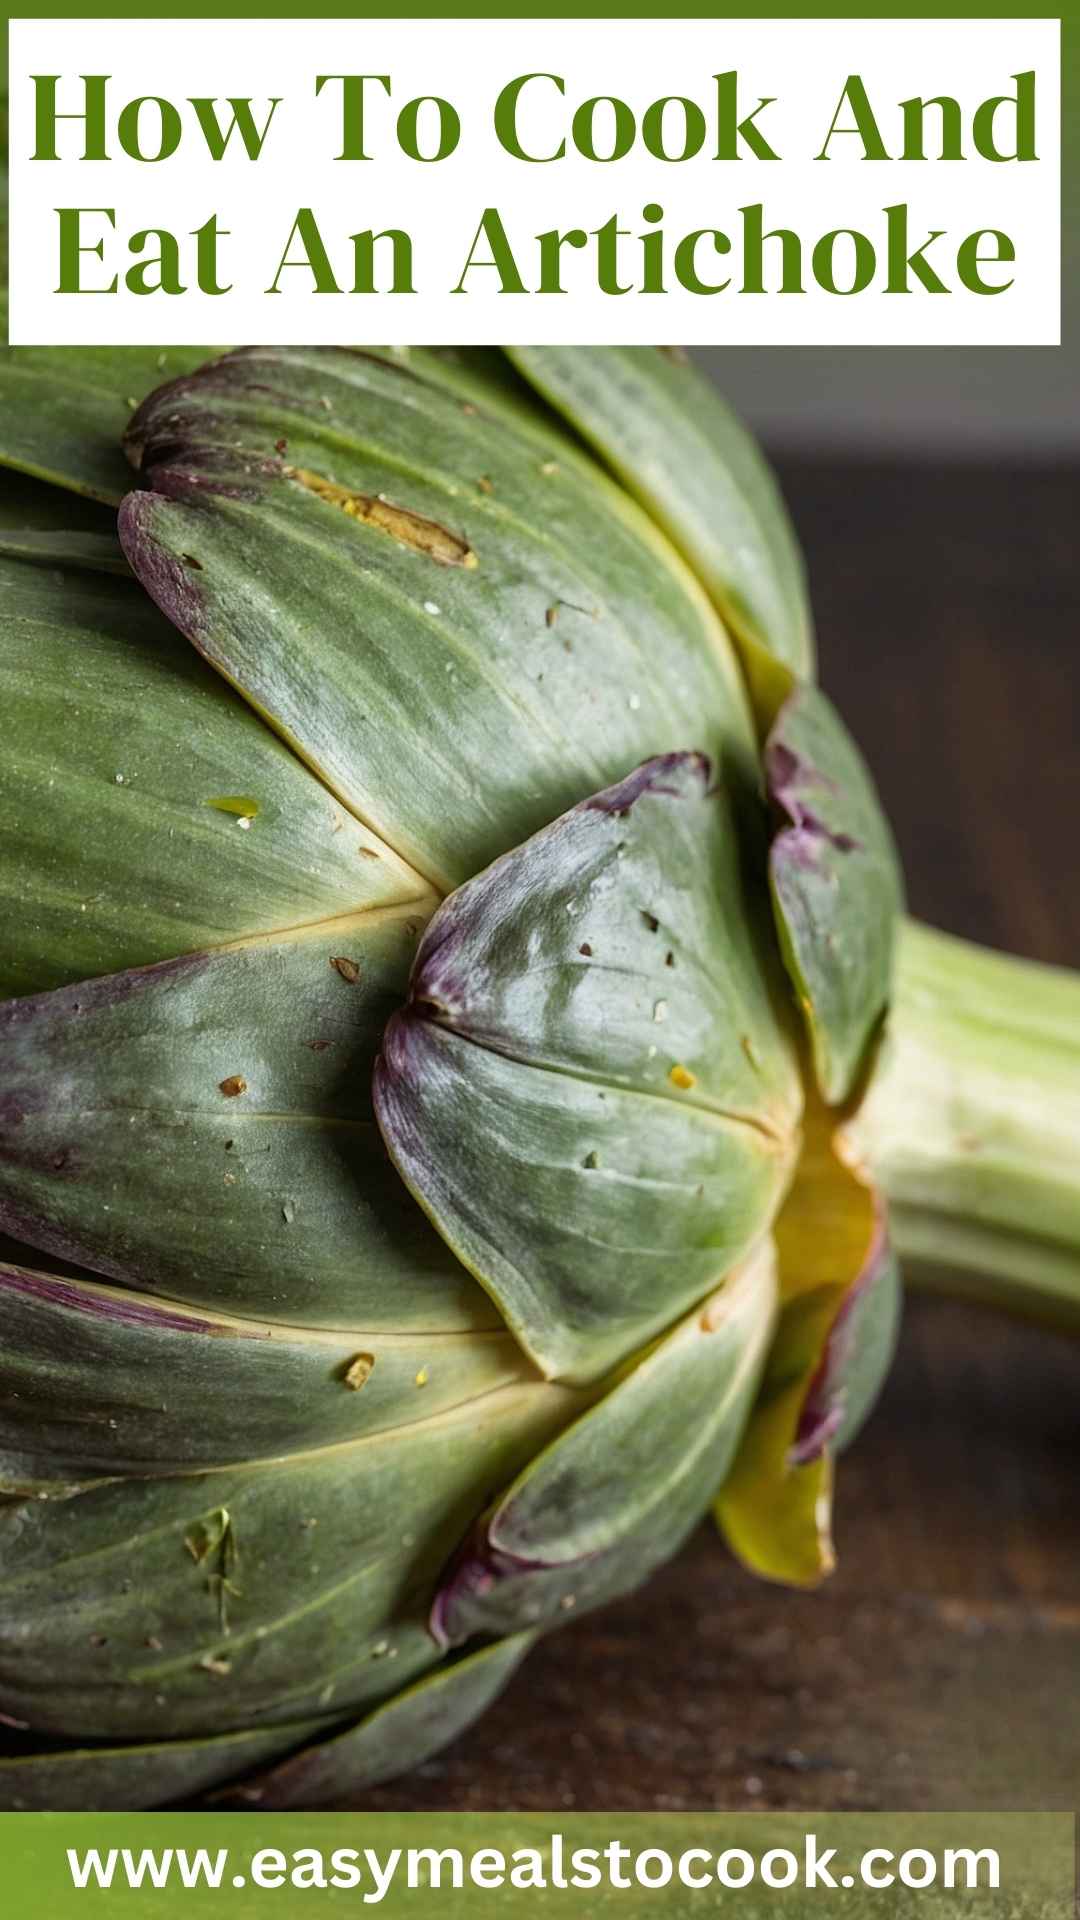
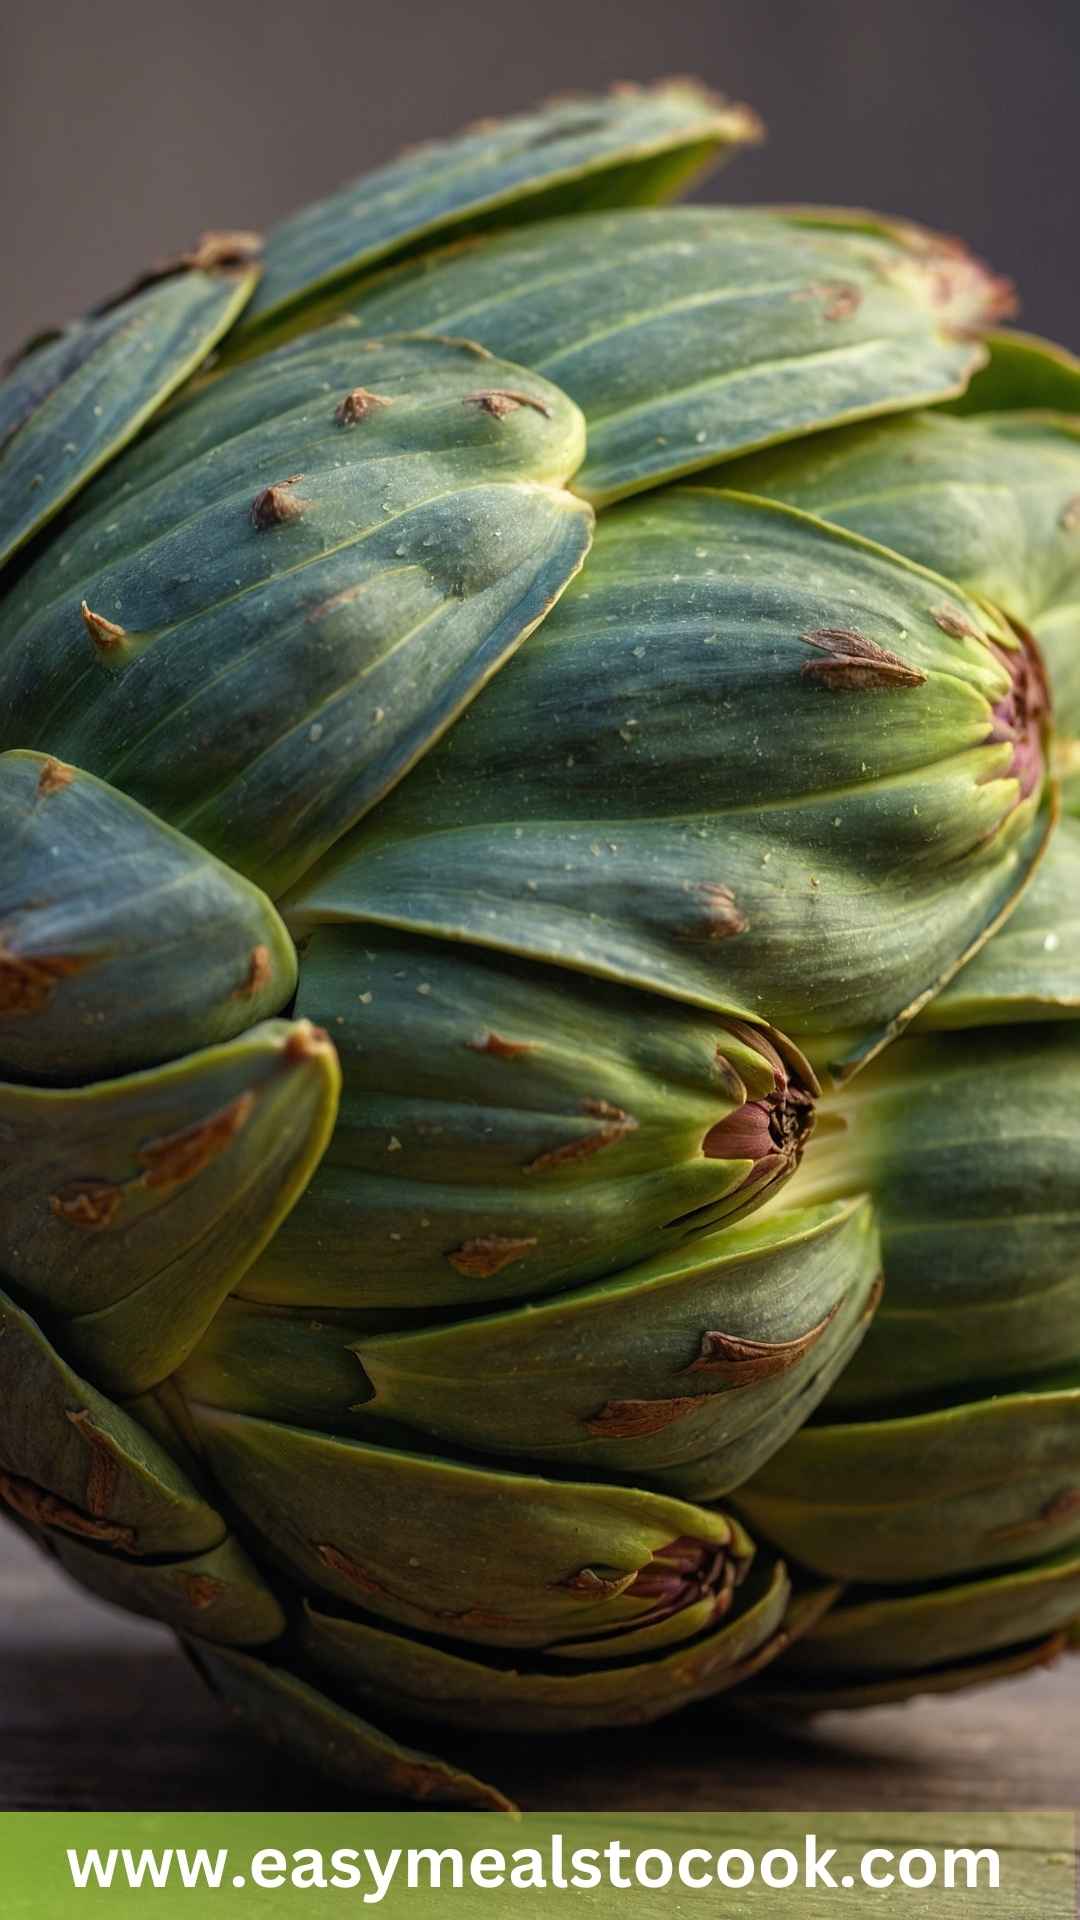
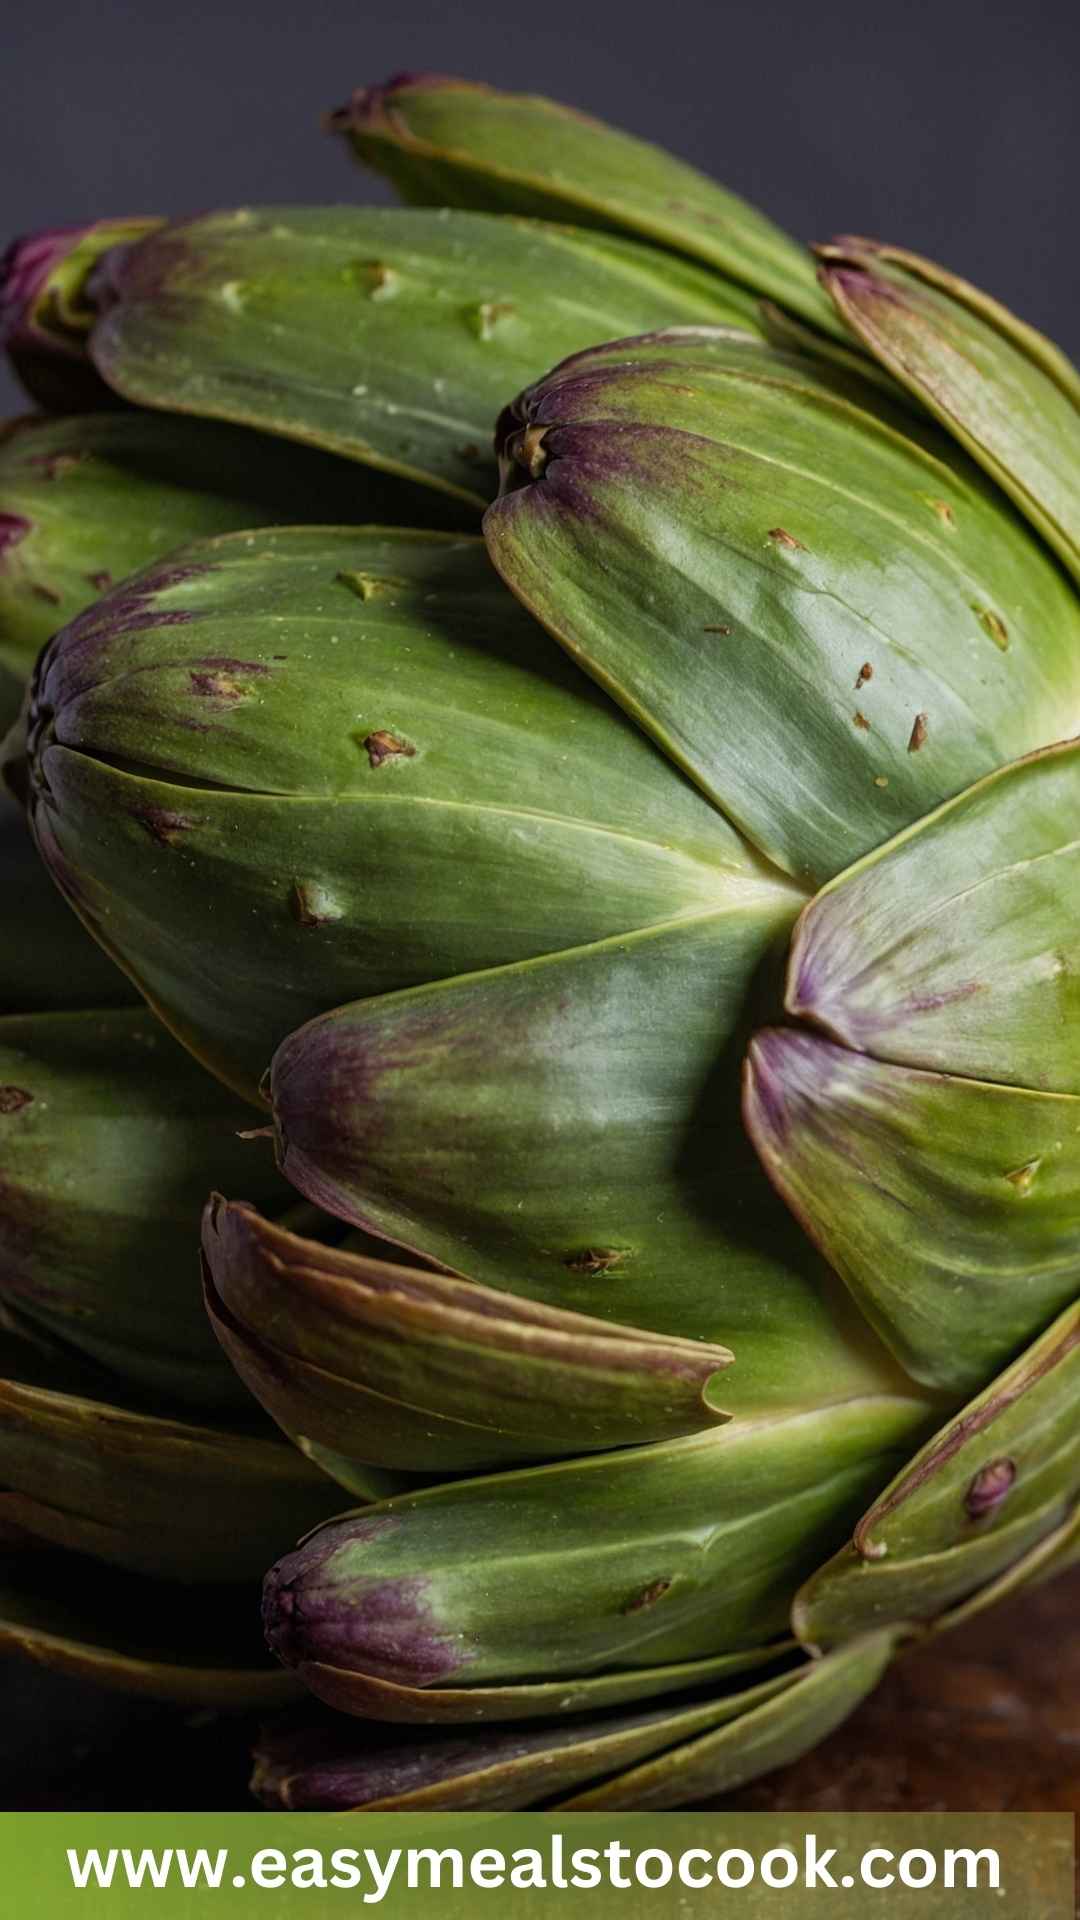
An artichoke is not a flower; it’s a thistle! Surprising, right? These artful vegetables are known for their formidable appearance with layered, spiky leaves. Inside, however, hides the tender heart—a true delicacy.
Artichokes have a distinctive taste that’s slightly nutty and buttery. Served steamed, grilled, or even stuffed, they offer an experience that’s both unique and rewarding.
Why You’ll Love Cooking and Eating Artichoke
Once you delve into the world of artichokes, you’ll discover they aren’t just pretty to look at; they bring flavor and a touch of fancy to any plate.
Cooking them at home allows you to control the seasoning and pairings, making them versatile for many occasions. Plus, they’re rich in antioxidants and nutrients, offering plenty of health benefits.
Worried about the fuss?
Don’t be! I’ve walked this path and found some tips that make the process easier. You’ll love the satisfaction of tackling that spiky outer layer to uncover tender inner leaves.
And when you dip those leaves into a zesty sauce, you’ll understand the joy of eating artichokes. Let’s dive right in.
The Ingredients You’ll Need
Before we roll up our sleeves, let’s gather everything we need. Here’s what you will require for cooking your artichoke:
- 1 teaspoon olive oil
- 1 small sprig of rosemary
- 1 or more large globe artichokes
- 1-2 garlic cloves, halved (skin on)
- 1 lemon slice
- 1 bay leaf
Got everything? Great! Let’s get cooking.

Step by Step Instructions
Step 1: Preparing Your Artichoke
Start by rinsing your artichoke under cold water. This helps remove any residual dirt. Next, trim the stem to about an inch or two. If those leaves are looking a bit brown, don’t hesitate to trim them as well. It refreshes the whole look.
Step 2: Remove the Tough Outer Leaves
Now, it’s time to tackle those tough outer leaves. With your hands, gently pull away the outer leaves, starting from the base. You’ll get the hang of it; I promise. Continue this process until the leaves start to become a lighter shade of green and less thorny.
Step 3: Trim the Top
The top of the artichoke can be a bit spiky, so let’s give it a haircut. Using a sharp chef’s knife, slice about an inch off the top. Keep it even, and be careful not to lose too much of that tender heart we want to get to.
Step 4: Create a Lemon-Garlic Bath
In a large pot, add water along with the lemon slice, halved garlic, rosemary, and bay leaf. This will be your cooking liquid. You’ll want enough water to cover the artichoke when it’s submerged. Heck, make it flavorful!
Step 5: Cook the Artichoke
Bring your pot to a boil. Once boiling, gently lower the prepared artichoke into the water. Cover the pot and allow it to simmer for about 30-40 minutes.
You want it fork-tender. You can check this by inserting a knife or fork into the base. If it slides in easily, you’re golden.
Step 6: Drain and Cool
Once cooked, carefully remove the artichoke from the pot. Allow it to cool for a few moments before serving. Watch out—it’s hot!
Step 7: Serve and Enjoy
Now comes the fun part: the dipping! You can serve the artichoke with a dipping sauce like melted butter, garlic aioli, or even a squeeze of fresh lemon juice. Pull the leaves, dip, and enjoy each tender bite.
Tips & Tricks for the Best Artichoke Experience
When preparing artichokes, a few insider tips can make all the difference:
- Choose Fresh: Look for firm artichokes with tightly closed leaves. The fresher, the better!
- Go Easy on the Heat: Avoid overcooking; you want tender leaves, not mush.
- Storage Mastery: Keep uncooked artichokes in the fridge for up to a week for peak freshness.
- Don’t Skip the Dip: Experiment with various dips. A good dip turns an artichoke into a star dish.
- Enjoy with Friends: Artichokes are great as a shared dish. It makes the experience fun!
Can I Store Cooked Artichokes?
Absolutely! Cooked artichokes can be stored in an airtight container in the refrigerator for up to 3 days. When you’re ready for a snack, simply reheat them or enjoy cold. Toss them on a salad for a nutritional boost.
What Can I Serve with Artichoke?
Pairing artichokes is a creative task. They harmonize with various flavors, making them excellent companions. Here are a few delightful options:
- Grilled Fish: The subtle flavors of fish complement the richness of artichoke.
- Pasta Dishes: Toss them in a pasta salad for added texture and taste.
- Cheese Plate: Serve them alongside your favorite cheeses and cured meats for a charcuterie board.
- Roasted Vegetables: Add a plate of roasted roots or Mediterranean veggies for a full meal experience.
- Quinoa Salads: The nutty flavor of quinoa goes well with artichokes.
Variations
Artichokes are like blank canvases, eager for your culinary touch. Here are some variations to enhance your experience:
- Grilled Artichokes: After boiling, slap those artichokes on a hot grill for a smoky flavor. Brush with olive oil and seasoning for extra zing.
- Stuffed Artichokes: Mix breadcrumbs, cheese, and herbs, then stuff them between the leaves before boiling. Think of it as a flavor surprise!
- Artichoke Dip: Blend cooked artichoke with cream cheese, mayonnaise, and cheese for a creamy dip that is crowd-pleasing.
- Mediterranean Style: Toss with olives, feta cheese, and sun-dried tomatoes for a Mediterranean flair.
- Vegan Version: Use coconut cream and nutritional yeast with spices to create a dairy-free aioli for dipping.

Conclusion
Cooking and eating an artichoke is not just an act of preparing food; it’s an experience. The moment you pull away those layers to reveal the tender heart is quite satisfying. Artichokes invite creativity into your kitchen, allowing you to explore flavors and combinations.
So next time you encounter this fascinating vegetable, don’t shy away. Roll your sleeves up, dive in, and enjoy the delightful journey from cooking to tasting. You’ll likely find that each bite invites you to savor the moment. Happy cooking!
You’ll also like the following recipes!

How To Cook And Eat An Artichoke – Easy Meals To Cook
Description
When I first encountered an artichoke, I’ll admit—I was a bit intimidated. It sat there, a spiky green mystery on the counter, daring me to figure it out. Fast forward to today, and it's one of my favorite vegetables to prepare.
Ingredients
Instructions
Step 1: Preparing Your Artichoke
-
Start by rinsing your artichoke under cold water. This helps remove any residual dirt. Next, trim the stem to about an inch or two. If those leaves are looking a bit brown, don’t hesitate to trim them as well. It refreshes the whole look.
Step 2: Remove the Tough Outer Leaves
-
Now, it’s time to tackle those tough outer leaves. With your hands, gently pull away the outer leaves, starting from the base. You’ll get the hang of it; I promise. Continue this process until the leaves start to become a lighter shade of green and less thorny.
Step 3: Trim the Top
-
The top of the artichoke can be a bit spiky, so let’s give it a haircut. Using a sharp chef’s knife, slice about an inch off the top. Keep it even, and be careful not to lose too much of that tender heart we want to get to.
Step 4: Create a Lemon-Garlic Bath
-
In a large pot, add water along with the lemon slice, halved garlic, rosemary, and bay leaf. This will be your cooking liquid. You’ll want enough water to cover the artichoke when it’s submerged. Heck, make it flavorful!
Step 5: Cook the Artichoke
-
Bring your pot to a boil. Once boiling, gently lower the prepared artichoke into the water. Cover the pot and allow it to simmer for about 30-40 minutes.
You want it fork-tender. You can check this by inserting a knife or fork into the base. If it slides in easily, you’re golden.
Step 6: Drain and Cool
-
Once cooked, carefully remove the artichoke from the pot. Allow it to cool for a few moments before serving. Watch out—it’s hot!
Step 7: Serve and Enjoy
-
Now comes the fun part: the dipping! You can serve the artichoke with a dipping sauce like melted butter, garlic aioli, or even a squeeze of fresh lemon juice. Pull the leaves, dip, and enjoy each tender bite.
Nutrition Facts
Servings 1
- Amount Per Serving
- Calories 127kcal
- % Daily Value *
- Total Fat 0.8g2%
- Saturated Fat 0.2g1%
- Sodium 155mg7%
- Total Carbohydrate 32g11%
- Dietary Fiber 10g40%
- Sugars 6g
- Protein 6g12%
* Percent Daily Values are based on a 2,000 calorie diet. Your daily value may be higher or lower depending on your calorie needs.
Note
- Choose Fresh: Look for firm artichokes with tightly closed leaves. The fresher, the better!
- Go Easy on the Heat: Avoid overcooking; you want tender leaves, not mush.
- Storage Mastery: Keep uncooked artichokes in the fridge for up to a week for peak freshness.
- Don't Skip the Dip: Experiment with various dips. A good dip turns an artichoke into a star dish.
- Enjoy with Friends: Artichokes are great as a shared dish. It makes the experience fun!


