Sweetened condensed milk is a beloved ingredient in many desserts, lending its rich, creamy texture and sweetness to treats from ice cream to baked goods. Have you ever found yourself in the middle of a recipe that calls for this golden elixir, only to realize you’re out? Don’t worry!
Making it at home can be a breeze. Plus, once you whip up a batch of your own sweetened condensed milk, you might find yourself using it more often than you ever thought possible.
Before we dive into the sweet details of this recipe, let’s talk about what to pair with your homemade sweetened condensed milk. It’s not just for desserts! Here are a few suggestions:
- Coffee or Tea: Drizzle some over your morning brew for a richer flavor.
- Pancakes or Waffles: Replace syrup with a creamy dollop of this milk for an indulgent breakfast treat.
- Fruit Salad: Add sweetness and creaminess to refreshing fruits.
- Homemade Ice Cream: Use it as a base for no-churn ice cream or frozen yogurt.
Now, let’s jump into the delicious world of homemade sweetened condensed milk. Think of it not just as a recipe but as an experience. It’s like finding a hidden gem in your kitchen that can elevate so many dishes.

What is Homemade Sweetened Condensed Milk?
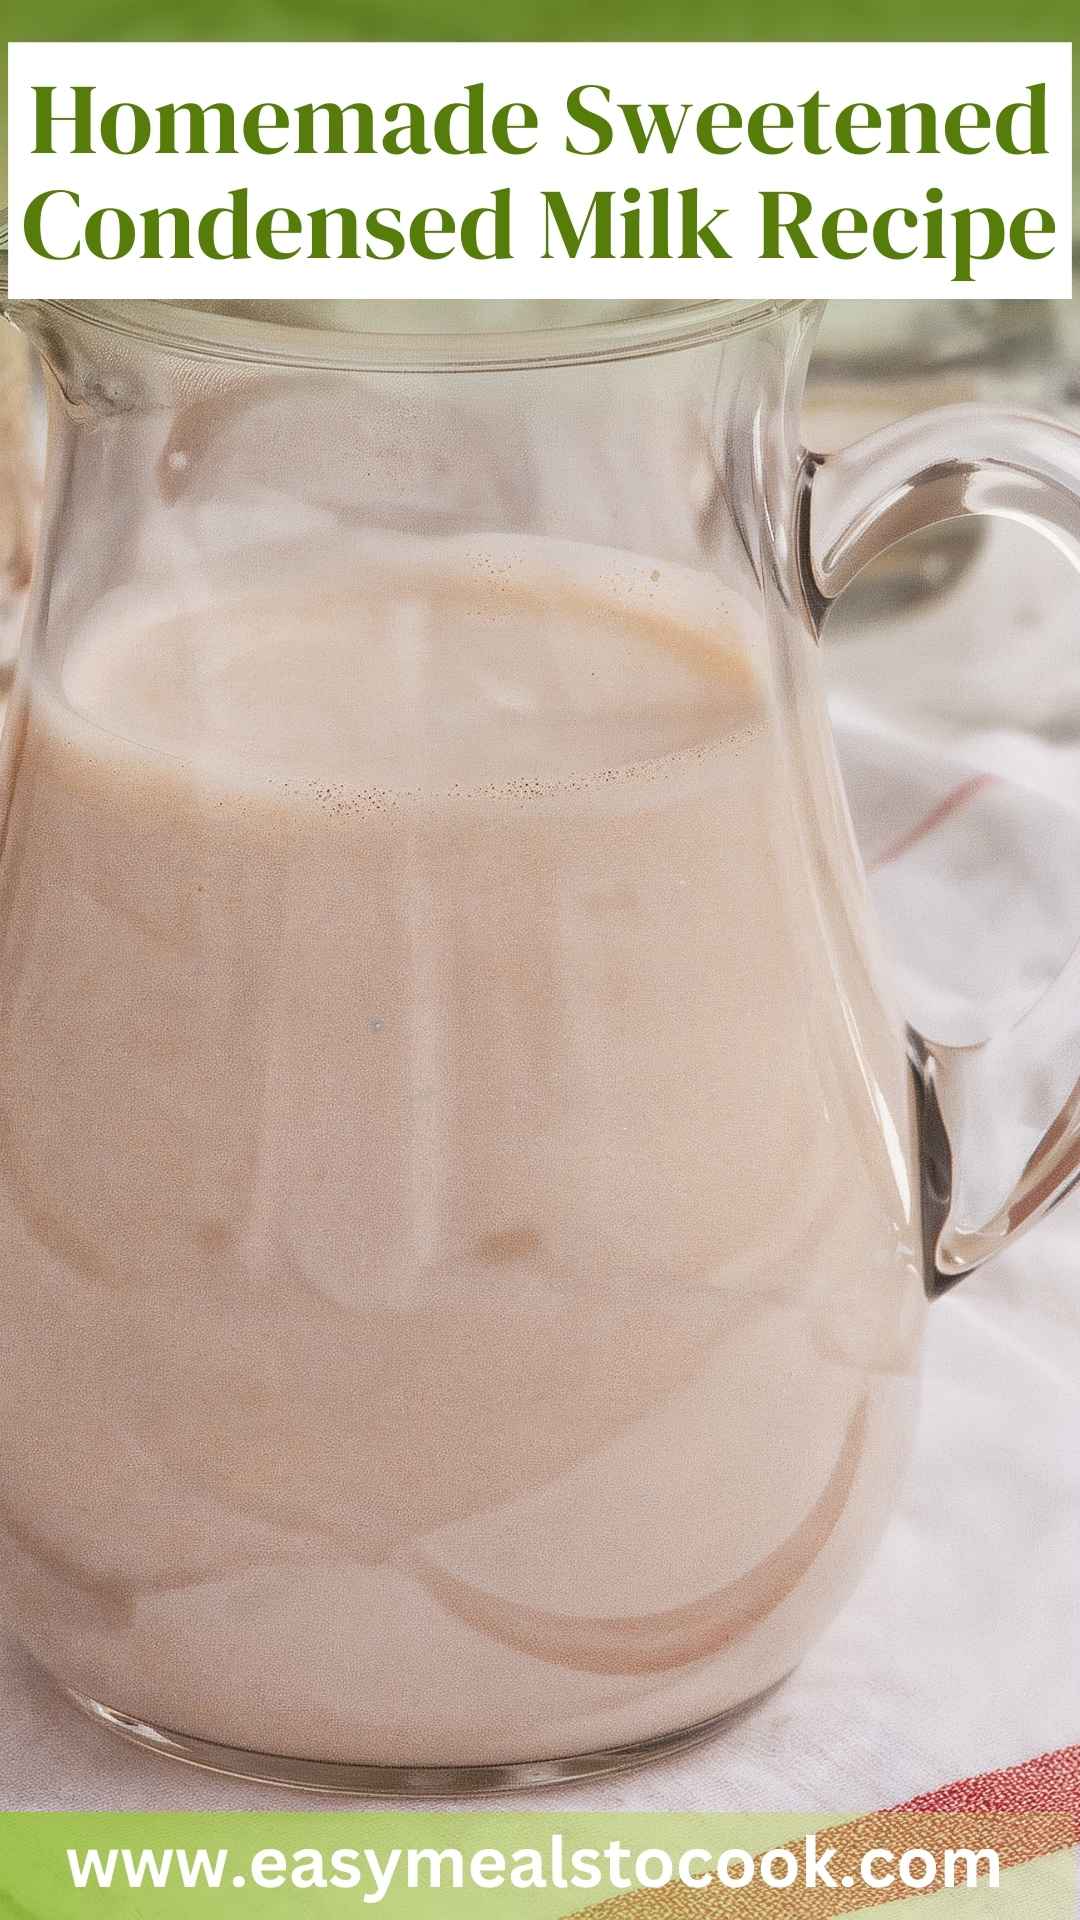
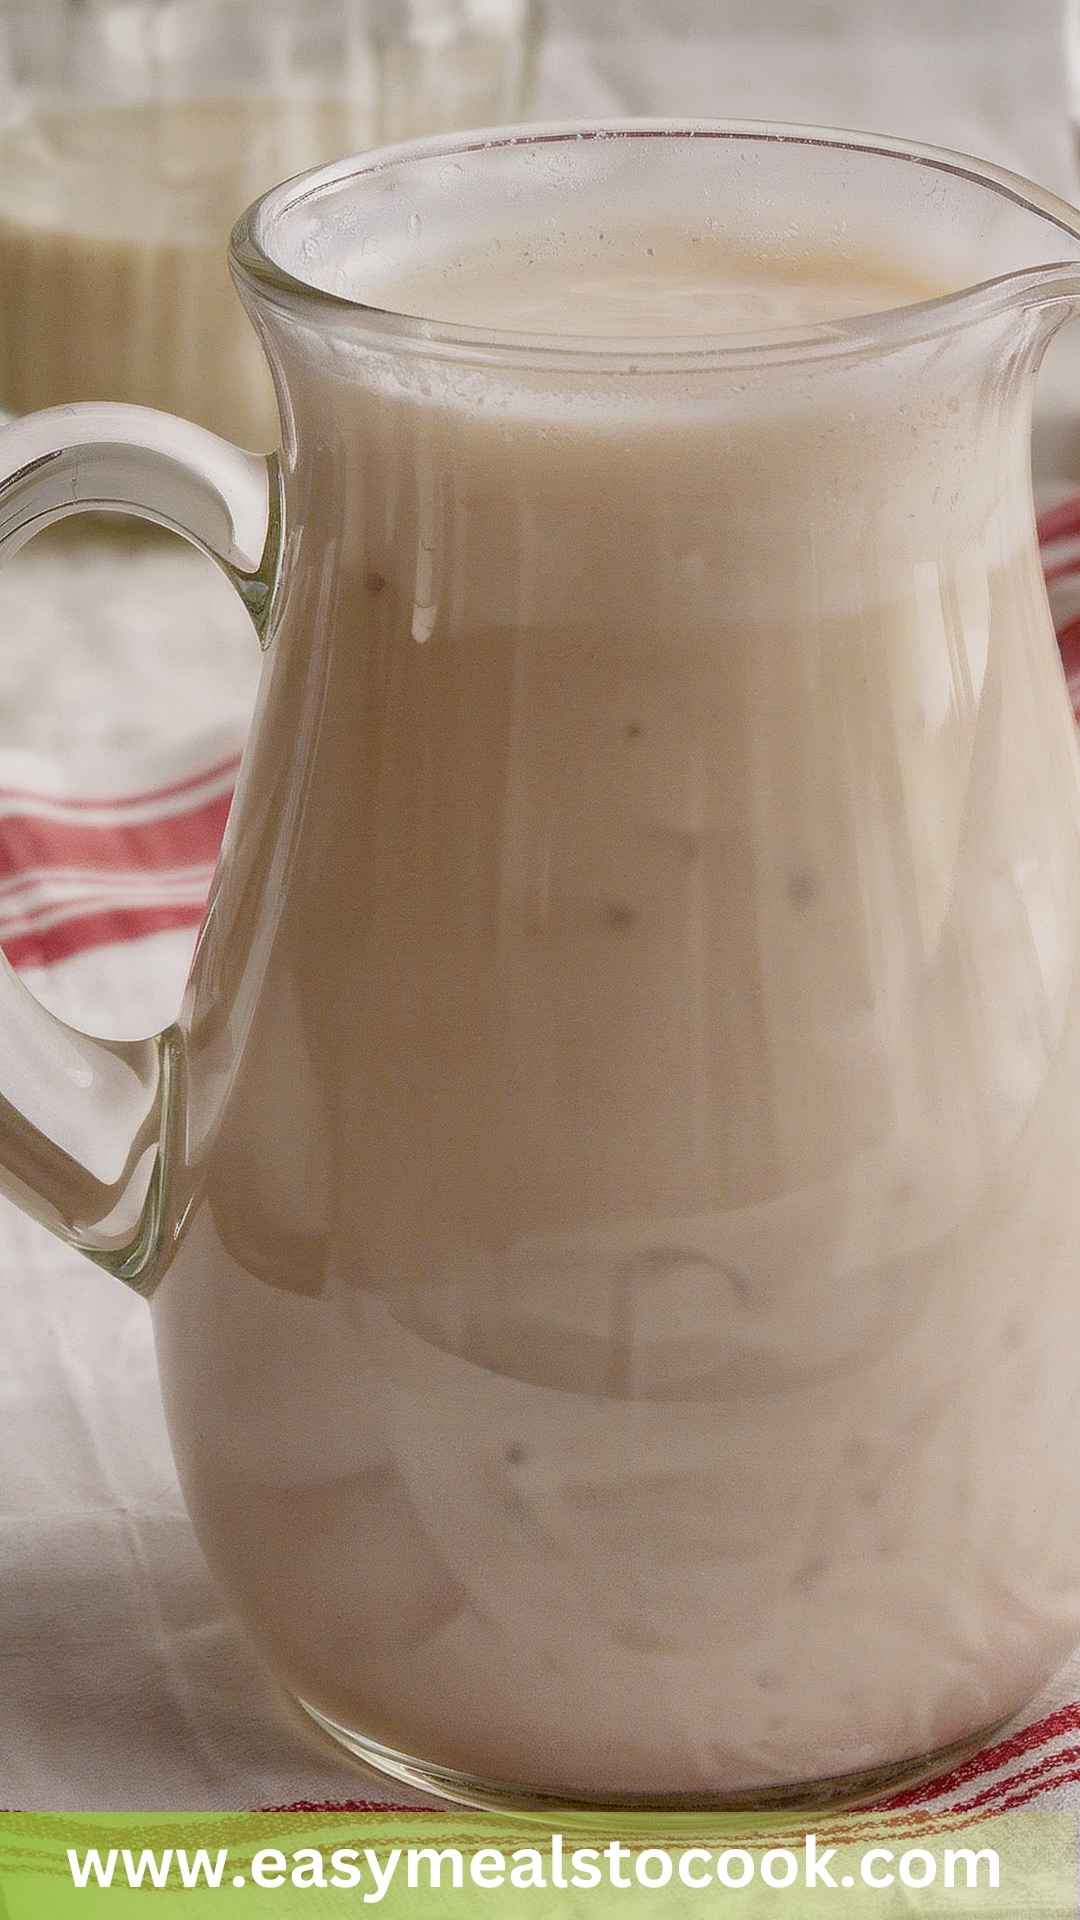
Homemade sweetened condensed milk is simply whole milk simmered down with sugar until thick and creamy. The process removes water content and concentrates the flavors, resulting in a sweet, versatile addition to countless recipes.
You’ll see that making it at home allows you to control the ingredients, ensuring a fresher and tastier product than store-bought versions.
What Does It Taste Like?
Imagine the silky richness of whole milk, now enhanced by the sweetness of sugar and a hint of vanilla. It has a luscious mouthfeel and a sweet profile that is comforting, reminiscent of childhood treats and happy moments. It’s the kind of flavor that brings back memories of dessert tables at family gatherings.
Why This Recipe Works
1. Simple Ingredients: This recipe requires just a few basic ingredients that many people have on hand. You likely have sugar and milk in your pantry right now.
2. Customizable Sweetness: You can adjust the level of sweetness to suit your personal taste. Want it sweeter? Add a bit more sugar. Prefer it less sweet? Scale back as needed.
3. Freshness: Homemade means no preservatives. You get to experience the true flavor of milk and sugar without additives that many store-bought options contain.
4. Quick and Easy: Once you know the technique, you can whip this up in under 30 minutes! That includes simmering and cooling time. It’s as easy as pie—or maybe, easier!
Ingredients for Homemade Sweetened Condensed Milk
Here’s what you’ll need for this delightful homemade treat:
- ⅔ cup (5 oz) granulated white sugar
- 2 cups (16 fl oz) whole milk or reduced-fat milk
- 1 teaspoon pure vanilla extract (this enhances sweetness and adds warmth)
- A pinch of fine sea salt (this balances and elevates the flavors)

Step-by-Step Instructions
Now that we have everything ready, let’s get into the nitty-gritty of making homemade sweetened condensed milk.
Step 1: Gather Your Ingredients
Before you start, make sure you have all your ingredients measured out and ready to go. It’s always a good idea to prep ahead. You’ll thank yourself when you start cooking!
Step 2: Combine Sugar and Milk
In a medium-sized saucepan, combine the sugar and milk. Stir together on low heat until the sugar completely dissolves. You’ll notice the mixture begins to look more uniform.
Step 3: Simmer the Mixture
Once dissolved, increase the heat to medium. Bring the mixture to a gentle simmer. You do not want it to boil; just let it bubble slightly. Keep stirring occasionally to prevent it from scorching.
Step 4: Reduce the Mixture
Continue to simmer for about 20-25 minutes, or until the mixture thickens slightly. It should reduce in volume but remain pourable. This is where the magic happens—the water content evaporates, concentrating the flavors.
Step 5: Add Vanilla and Salt
Once it thickens, remove it from the heat and stir in your vanilla extract and a pinch of salt. These ingredients will enhance the flavor profile considerably.
Step 6: Cool and Store
Let the mixture cool to room temperature. As it cools, it will thicken further. Once cooled, transfer it to an airtight container.
Notes
Here’s a few tips to keep in mind while making your sweetened condensed milk:
- Don’t rush the process: Allowing it to simmer slowly will ensure you get that perfect thickness and flavor.
- Use a heavy-bottomed saucepan: This helps distribute heat evenly and reduces the risk of scorching.
- Hang in there while it cooks: It has a tendency to seem too thin until it’s completely cooled, so don’t be alarmed!
- Store it in the fridge: Homemade sweetened condensed milk can be kept in the refrigerator for up to 2 weeks.
- Experiment with flavors: Consider adding a touch of almond extract or even a bit of coconut milk for a fun twist.
Nutrition Information
For those keeping an eye on their nutrition, here’s a breakdown of the nutrition for approximately 2 tablespoons of homemade sweetened condensed milk:
- Calories: 130
- Total Fat: 4.5g
- Saturated Fat: 2.5g
- Cholesterol: 20mg
- Sodium: 3mg
- Total Carbohydrates: 23g
- Sugars: 22g
- Protein: 3g
How to Store the Leftovers?
Once you’ve whipped up your homemade sweetened condensed milk, store it in an airtight container in the fridge. It maintains its quality for about two weeks. If you want to keep it longer, consider portioning it out into ice cube trays and freezing. This way, you can pop out a cube whenever you need a little sweetness in your life!
Sides for Homemade Sweetened Condensed Milk
Although sweetened condensed milk can be enjoyed on its own, it shines even more when paired with other foods. Here are a few suggestions:
1. Coffee: Pour it into your cup for a sweet twist on your morning ritual. It transforms plain black coffee into something special.
2. Buttered Toast: Slather it on warm toast. Add a sprinkle of cinnamon for an indulgent breakfast.
3. Fresh Berries: Drizzle over strawberries, blueberries, or your favorite fruit for a fresh dessert that feels fancy.
4. Chocolate Dishes: Use it in chocolate puddings or brownies for added creaminess and sweetness.
Alternative Choices for Ingredients
If you’re running low on supplies, here are some alternatives for each ingredient:
1. Milk Options: You can substitute whole milk with almond milk, oat milk, or coconut milk. The flavor might change slightly, but the result will still be creamy and delicious.
2. Sweeteners: Instead of granulated white sugar, use brown sugar or coconut sugar. They add different notes to the flavor profile, offering a more complex sweetness.
3. Vanilla Extract: If you don’t have vanilla, try using maple extract or a splash of rum to impart a unique twist.
4. Salt: While sea salt enhances the flavor, table salt will do just fine in a pinch. Just be cautious not to overdo it.

Conclusion
Creating homemade sweetened condensed milk is not just about the end product; it’s about the entire experience. From the simpleness of the ingredients to the rich flavors that develop during the simmering process, every step brings you closer to a delightful treat. Many recipes will call upon your newly crafted ingredient, turning everyday desserts into something extraordinary.
So next time you think about reaching for that can from the store, remember that your kitchen has the potential to create something fresh and wholesome. Enjoy the journey of making your own sweetened condensed milk, and let your culinary creativity flow!
You’ll also like the following recipes!

Homemade Sweetened Condensed Milk Recipe – Easy Meals To Cook
Description
Sweetened condensed milk is a beloved ingredient in many desserts, lending its rich, creamy texture and sweetness to treats from ice cream to baked goods. Have you ever found yourself in the middle of a recipe that calls for this golden elixir, only to realize you’re out? Don’t worry!
Ingredients
Instructions
Step 1: Gather Your Ingredients
-
Before you start, make sure you have all your ingredients measured out and ready to go. It’s always a good idea to prep ahead. You’ll thank yourself when you start cooking!
Step 2: Combine Sugar and Milk
-
In a medium-sized saucepan, combine the sugar and milk. Stir together on low heat until the sugar completely dissolves. You’ll notice the mixture begins to look more uniform.
Step 3: Simmer the Mixture
-
Once dissolved, increase the heat to medium. Bring the mixture to a gentle simmer. You do not want it to boil; just let it bubble slightly. Keep stirring occasionally to prevent it from scorching.
Step 4: Reduce the Mixture
-
Continue to simmer for about 20-25 minutes, or until the mixture thickens slightly. It should reduce in volume but remain pourable. This is where the magic happens—the water content evaporates, concentrating the flavors.
Step 5: Add Vanilla and Salt
-
Once it thickens, remove it from the heat and stir in your vanilla extract and a pinch of salt. These ingredients will enhance the flavor profile considerably.
Step 6: Cool and Store
-
Let the mixture cool to room temperature. As it cools, it will thicken further. Once cooled, transfer it to an airtight container.
Nutrition Facts
Servings 1
- Amount Per Serving
- Calories 130kcal
- % Daily Value *
- Total Fat 4.5g7%
- Saturated Fat 2.5g13%
- Cholesterol 20mg7%
- Sodium 3mg1%
- Total Carbohydrate 23g8%
- Sugars 22g
- Protein 3g6%
* Percent Daily Values are based on a 2,000 calorie diet. Your daily value may be higher or lower depending on your calorie needs.
Note
- Don’t rush the process: Allowing it to simmer slowly will ensure you get that perfect thickness and flavor.
- Use a heavy-bottomed saucepan: This helps distribute heat evenly and reduces the risk of scorching.
- Hang in there while it cooks: It has a tendency to seem too thin until it’s completely cooled, so don’t be alarmed!
- Store it in the fridge: Homemade sweetened condensed milk can be kept in the refrigerator for up to 2 weeks.
- Experiment with flavors: Consider adding a touch of almond extract or even a bit of coconut milk for a fun twist.


