Coffee cake pairs beautifully with a steaming cup of coffee or a refreshing glass of iced tea. Imagine setting the table for brunch with family and friends, the aroma of freshly baked coffee cake wafting through the air.
You can serve it alongside some fresh fruit, like berries or sliced peaches, and add a dollop of whipped cream for that extra touch. Trust me, nobody will be able to resist reaching for another slice.
What is Classic Coffee Cake?
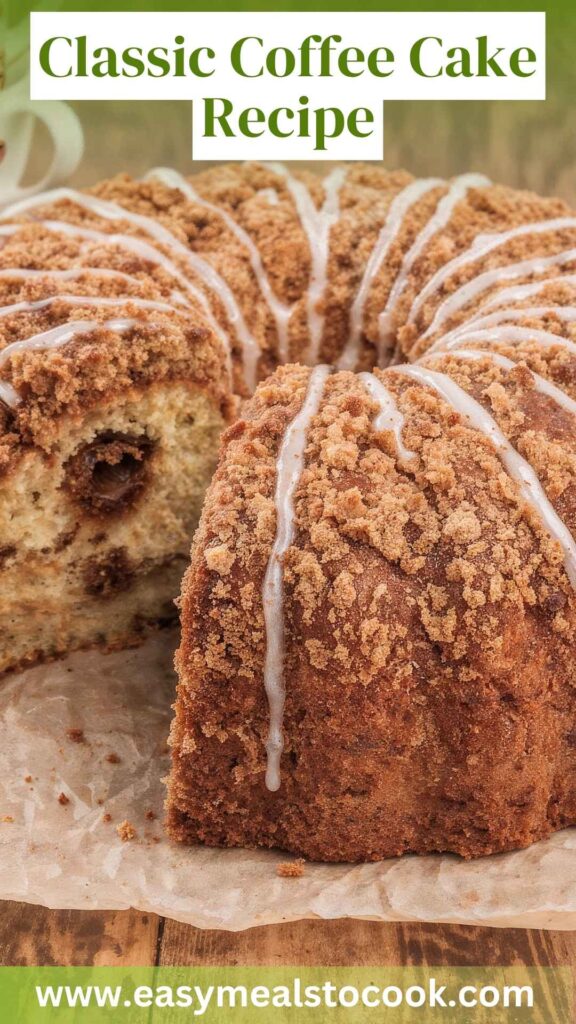
Classic coffee cake is a tender, buttery cake designed to be served with coffee. Unlike other cakes that might be frosted, coffee cake often boasts a crumbly streusel topping, adding texture and flavor.
Its origin traces back to Europe, where coffee cake traditions flourished, especially in German and Scandinavian bakeries.
This cake isn't really about the coffee; instead, it's a delightful companion to your morning brew or afternoon tea. Often flavored with cinnamon or nutmeg, or filled with fruits like blueberries or apples, it strikes a balance between sweetness and spice. The simplicity of the ingredients makes it an ideal recipe for bakers of all skill levels.
What is the Flavor Profile of This Dish?
The flavor of classic coffee cake is a harmonious blend of sweetness and warmth. The rich texture of the cake is complemented by the nutty crunch of the streusel topping.
With notes of cinnamon and nutmeg, it introduces a gentle spiciness that awakens your taste buds.
When you take that first bite, you'll experience a melt-in-your-mouth sensation, enhanced by the tangy richness of the sour cream. Each layer melds together in a delightful dance of flavors, making it hard to resist going for seconds—or thirds!
Why You'll Love This?
You will fall in love with classic coffee cake for several reasons.
Firstly, it's incredibly versatile. Serve it for breakfast, brunch, or even dessert. It fits every occasion, be it a family gathering, a holiday celebration, or a simple afternoon treat.
Secondly, the recipe is straightforward and beginner-friendly. You don’t need a culinary degree to whip up this delightful dish. Plus, it's a great way to spend quality time with loved ones in the kitchen.
Lastly, it evokes memories of shared moments—be it chatting over coffee with friends or holding a family reunion over dessert. And let’s be honest: who doesn’t enjoy that first bite of a fresh homemade cake?
Ingredients
For the Streusel Topping and Filling:
- 1 1/2 cups (7 1/2 oz / 213 g) chopped pecans
- 1 3/4 cups (8 3/4 oz / 247 g) all-purpose flour
- 1/2 teaspoon fine sea salt
- 1 cup (6 oz / 170 g) packed light brown sugar
- 1 1/4 teaspoons ground cinnamon
- 3/4 cup (6 oz / 170 g) chilled unsalted butter, diced
- 1 teaspoon vanilla extract
For the Coffee Cake Batter:
- 1 cup (8 oz / 225 g) granulated sugar
- 1/2 teaspoon baking soda
- 1/2 teaspoon salt
- 2 large eggs
- 2 cups (10 oz / 284 g) all-purpose flour
- 1/2 cup (4 oz / 115 g) unsalted butter, softened to room temperature
- 1 1/4 teaspoons baking powder
- 1 cup (8 oz / 225 g) full-fat sour cream
- 1/2 teaspoon freshly grated nutmeg
For the Maple Glaze:
- 3/4 cup (3 oz / 85 g) confectioners’ sugar
- 2 tablespoons pure maple syrup
- 2 tablespoons whole milk
Step by Step Instructions
Step 1: Prepare the Streusel Topping
Start by preheating your oven to 350°F (175°C). While the oven warms up, let’s get started on that streusel topping.
In a bowl, combine the chopped pecans, flour, salt, light brown sugar, and ground cinnamon.
Use a fork or pastry cutter to mix in the cold diced butter until the mixture resembles coarse crumbs. This step is crucial! The butter needs to be cold, or you won’t get those perfect crumbly bits. Finally, stir in the vanilla extract. Set your streusel mixture aside.
Step 2: Mix the Batter
In another mixing bowl, combine granulated sugar, baking soda, and salt. Add the softened butter and beat until the mixture is light and fluffy. This process typically takes about 3-4 minutes.
Then, break in those eggs, one at a time, mixing well after each addition.
Now it’s time to integrate the sour cream, blending until it’s smooth. In a separate bowl, whisk together the flour and baking powder.
Gradually mix the dry ingredients into the wet ingredients, being careful not to overmix. The batter should be thick and creamy.
Step 3: Assemble the Cake
Grease a 9x13-inch baking dish. Pour half of the batter into the prepared dish and spread it evenly. Next, sprinkle half of the streusel topping over the batter.
Gently dollop the remaining batter over the streusel. It’s okay if some of it doesn’t cover everything—it creates a delightful textured look.
Finally, sprinkle the remaining streusel topping on top. Trust me, this is where the magic happens.
Step 4: Bake the Cake
Place the baking dish in your preheated oven and let it bake for 35-40 minutes. A toothpick should come out clean from the center when it’s done.
The kitchen will be filled with the most delightful aroma during this time.
Once baked, allow it to cool for about 15 minutes in the dish before transferring to a wire rack.
Step 5: Make the Maple Glaze
While your cake is cooling, let’s whip up that delicious maple glaze! In a small bowl, whisk together the confectioners’ sugar, maple syrup, and whole milk until smooth.
Adjust the consistency to your liking by adding more milk or sugar.
Step 6: Drizzle and Serve
Once the cake has cooled, drizzle the maple glaze over the top. Slice into generous pieces and serve alongside a steaming cup of coffee. Trust me; it’s an experience you won’t forget.
Tips & Tricks
- Use Fresh Ingredients: Always use fresh eggs and dairy products. They significantly enhance the flavor and texture of the cake.
- Measure Properly: Spoon your flour into the measuring cup and level it off. Avoid packing it down, which can lead to a dense cake.
- Let the Butter Soften: If you forget to let the butter reach room temperature, microwave it for about 10 seconds. You want it soft, not melted.
- Variations on Flavor: Feel free to add in fruits like blueberries or chopped apples for some extra flavor.
- Check for Doneness: Ovens can vary, so check your cake a few minutes early to avoid overbaking.
Nutrition Information
Each serving of classic coffee cake roughly contains:
- Calories: 360
- Total Fat: 18g
- Saturated Fat: 10g
- Cholesterol: 70mg
- Sodium: 220mg
- Total Carbohydrates: 48g
- Dietary Fiber: 1g
- Sugars: 24g
- Protein: 4g
(Note: This is an approximate value and may vary depending on ingredient brands and quantities.)
How Can You Store This Classic Coffee Cake Recipe?
Let’s face it—if there are leftovers, you have a little treasure on your hands. To store your coffee cake, wrap it tightly in plastic wrap or aluminum foil.
You can leave it at room temperature for up to 3 days. If you want to keep it longer, refrigerate it for up to a week, though the texture might change slightly.
For those serious about longevity, feel free to freeze individual slices or the whole cake. Just wrap it tightly and store it in an airtight container. It can last for about 2-3 months in the freezer.
When you’re ready to indulge again, simply thaw it overnight in the fridge and warm it up for a few minutes in the oven.
Ingredient Alternatives
If you’re missing some ingredients, don’t worry! Here are some alternatives you can consider:
- Sour Cream: If you don't have sour cream, use plain yogurt or even buttermilk. Both add creaminess and tang to the batter.
- All-Purpose Flour: In a pinch, whole wheat flour or a gluten-free flour blend can work, but they may alter the texture slightly.
- Pecans: Substitute with walnuts or almonds if you have a nut allergy or prefer a different flavor.
Conclusion
Classic coffee cake is more than just a recipe; it’s a connection to memories and loved ones. Whether you're baking it for a special occasion or just wanting a treat with morning coffee, it brings joy to every bite.
This dish is an old friend you'll return to time and again. So gather your ingredients, roll up your sleeves, and let's bake something delicious together!
Sharing this creation with others adds to the experience; it's all about connection. And remember, while this coffee cake is delightful, each time you make it, you craft your own story that can be cherished not just in your kitchen.
You’ll also like the following recipes!